Factors that affect color shift
It is always amazing to me the multitude of ways our color can shift when working with wood. The process is influenced by several factors and there are bound to…
It is always amazing to me the multitude of ways our color can shift when working with wood. The process is influenced by several factors and there are bound to be surprises and challenges along the way. This is why a step panel or storyboard is so essential to develop and achieve consistency when trying to keep our color from shifting.
What are some of the things that can cause our color to shift?
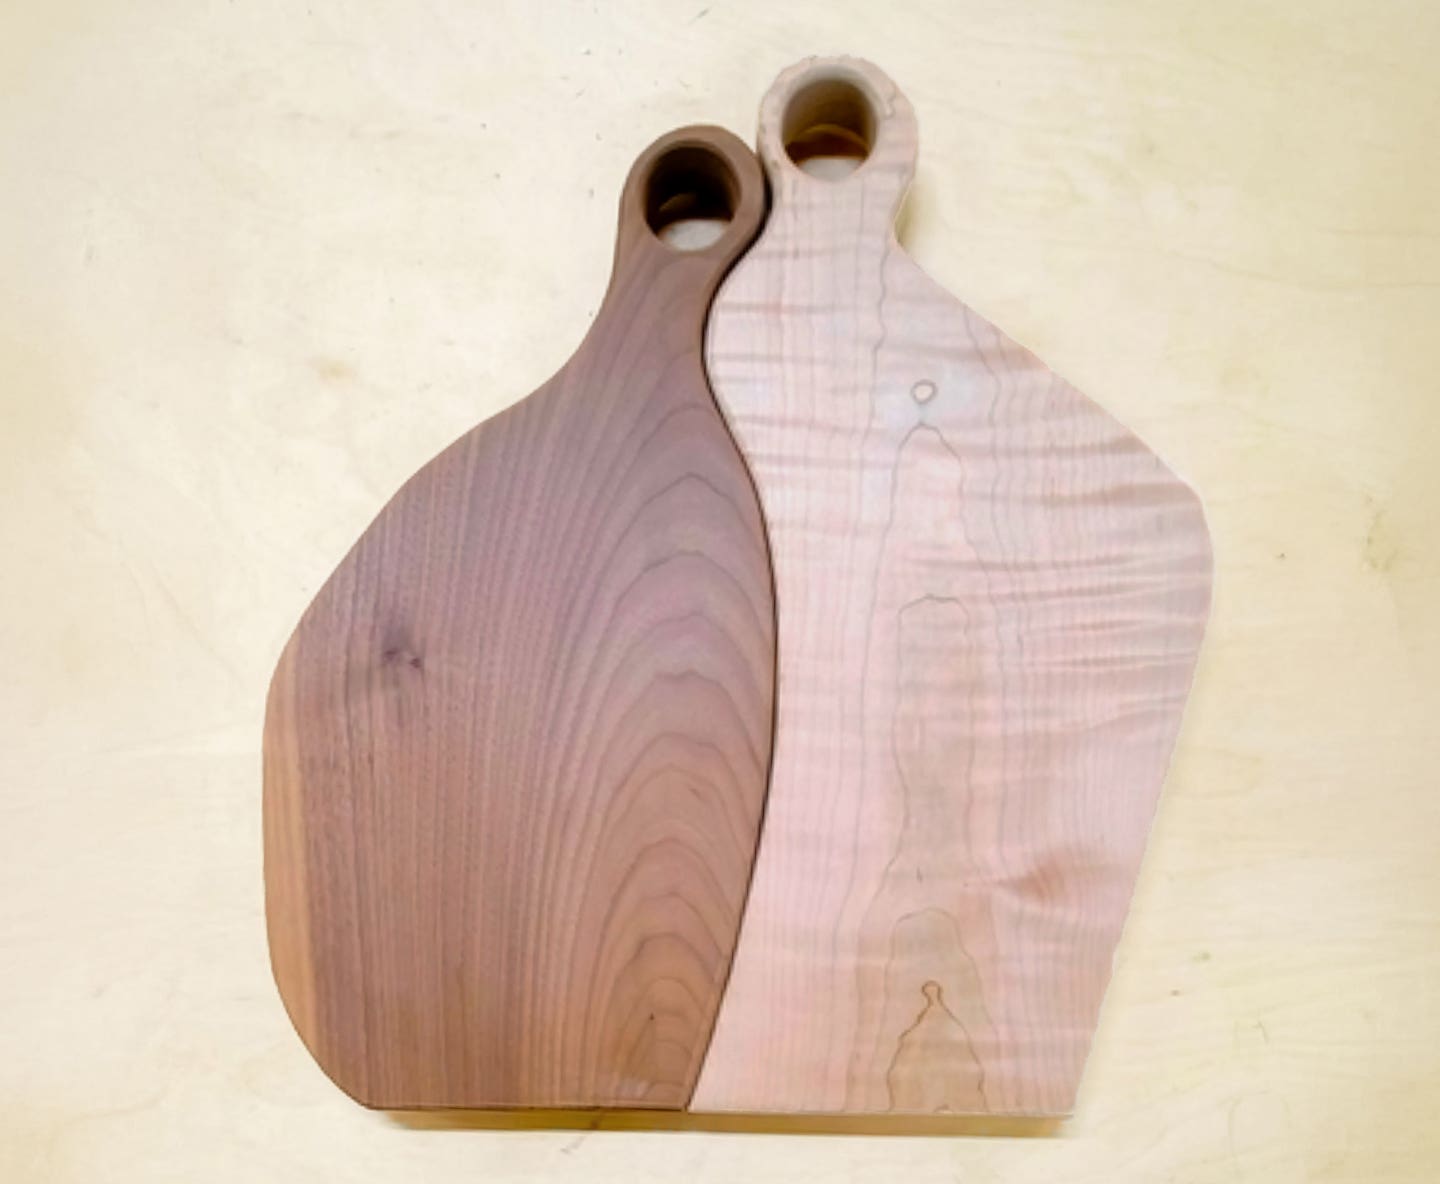
The wood’s tone sets the stage, influencing every layer of color that follows. To get a good look at the natural tones, just wipe some mineral spirits on a raw board. The grain and texture of the wood will also react differently with environmental influences and different stain systems. The woods cellular structures affect every step or manipulation we perform. Temperature, humidity, and moisture content will also affect the color shift as it influences the cell’s ability to absorb a stain or dye.
Numerous other color shifts can happen when staining the same board. A knot, for example, can give you an optical illusion of dark and light color simply from a viewing angle due to grain pattern or texture. Wood that is distressed or textured by knife cuts will also experience color shift.
How the wood is sanded will affect color shift. Wood that is sanded smooth will lighten the color, while a rougher sand will shift the color to a darker tone. This is all due to the way the color medium can penetrate into the wood and reflect its color. If you are trying to achieve uniformity of color on solid wood and veneer substrates, switch up the grit sequence to match the color’s ability to penetrate and even the hue. Solid wood will require one to two grits lower to achieve the same color as a veneer mounted on plywood.
Clear sealers and topcoats affect our color development based on their chemical makeup, raw materials such as resins, water or solvents, etc. Some coatings, although clear, can have an amber cast to them, thus changing our colors appearance with each coat applied. This is why a finished story board or step panel is crucial to be sure the end color is correct. Working with an amber hue clear coat can help create more depth with darker tone stains but really kill the purity or clarity of a white stain.
The sheens we choose can bring out different tones in our finishes and shift color. Higher sheens like gloss make our colors warm and may depict yellow, while lower sheens depict cooler tones. Lighting will also change the color’s appearance.
Color shifts will also happen with paints and primers. Remember that every color is influenced by the color underneath it. When priming wood, the primer will shift in tone based off the color it is covering and hiding. Primers are made to hide and fill. Manufacturers use different formulas and raw materials in their primer line, so the color hue can change from one to another.
When using a dark pigmented color, say blue, the color will shift with each layer and when placed over a different base coat. Dark colors tend to shift more than a pastel color because they are mixed in a clear tint base that requires more layering to achieve the true color you are after. Many times, darker colors also tend to be harder to work with due to tint load.
When working with tinted coatings that require a catalyst, many times you can experience color shift once the coating is catalyzed.
Mixing of your materials can cause color shift. Thoroughly mixing stains, glazes, pigmented coatings and even clear coatings is paramount. All materials should be frequently, consistently, and routinely mixed to retain consistent distribution of all pigments, resins and flattening agents.
When storing unused finish, be sure to seal the lids securely to avoid evaporation, which will cause a color shift with the next application. To prevent this, store the cans upside down. The pigment will settle on the lid, but it can be easily scraped off and agitated back into the material.
Proper dry time is paramount for consistent color, structural performance, and the integrity of the finish. Different dry times or dwell times of the stain and dyes can be jeopardized when the finish is applied too early due to the solvents possibly blending together and diluting the color’s appearance. Do not rush the process. The order of application, dry times and layering must be consistent. Changing up systems or skipping steps will always cause a shift in color and appearance.
Developing the color system is a crucial step. Each component will influence or be influenced by each sequential step. Layering color creates depth, richness and uniformity.
Color shift is a daily occurrence. Knowing some of the devils in the detail that can appear while trying to get the color you are after will help ease some of the pain and shift from happening.
In next month’s column, I will discuss the differences between choosing a stain or dye. There are several types to choose from, and each has its own unique way it colors or affects a wood’s tone. The types of pigments and binders, application methods, and dry times all influence the color. Change any one of these and you have color shift.
Remember, always trust and respect the process.
Diane Shattuck is a finisher, consultant, guest speaker, writer and teacher. She can be contacted at dianeshattuck@msn.com. Questions, suggestions and comments are always welcome.


