Measuring methods
Essential Woodworking Measurement Tips for Accurate Cuts: Avoid Costly Mistakes with These Pro Techniques
There are some things we can do to reduce the number of those cuts and add refinement to the marking process. The first step is to check the accuracy of the shop’s measuring tools.
here’s a tiresome old shop mantra about measuring twice and cutting once. But woodworkers know that when accuracy is essential, we’re going to sneak up on that line by cutting several times.
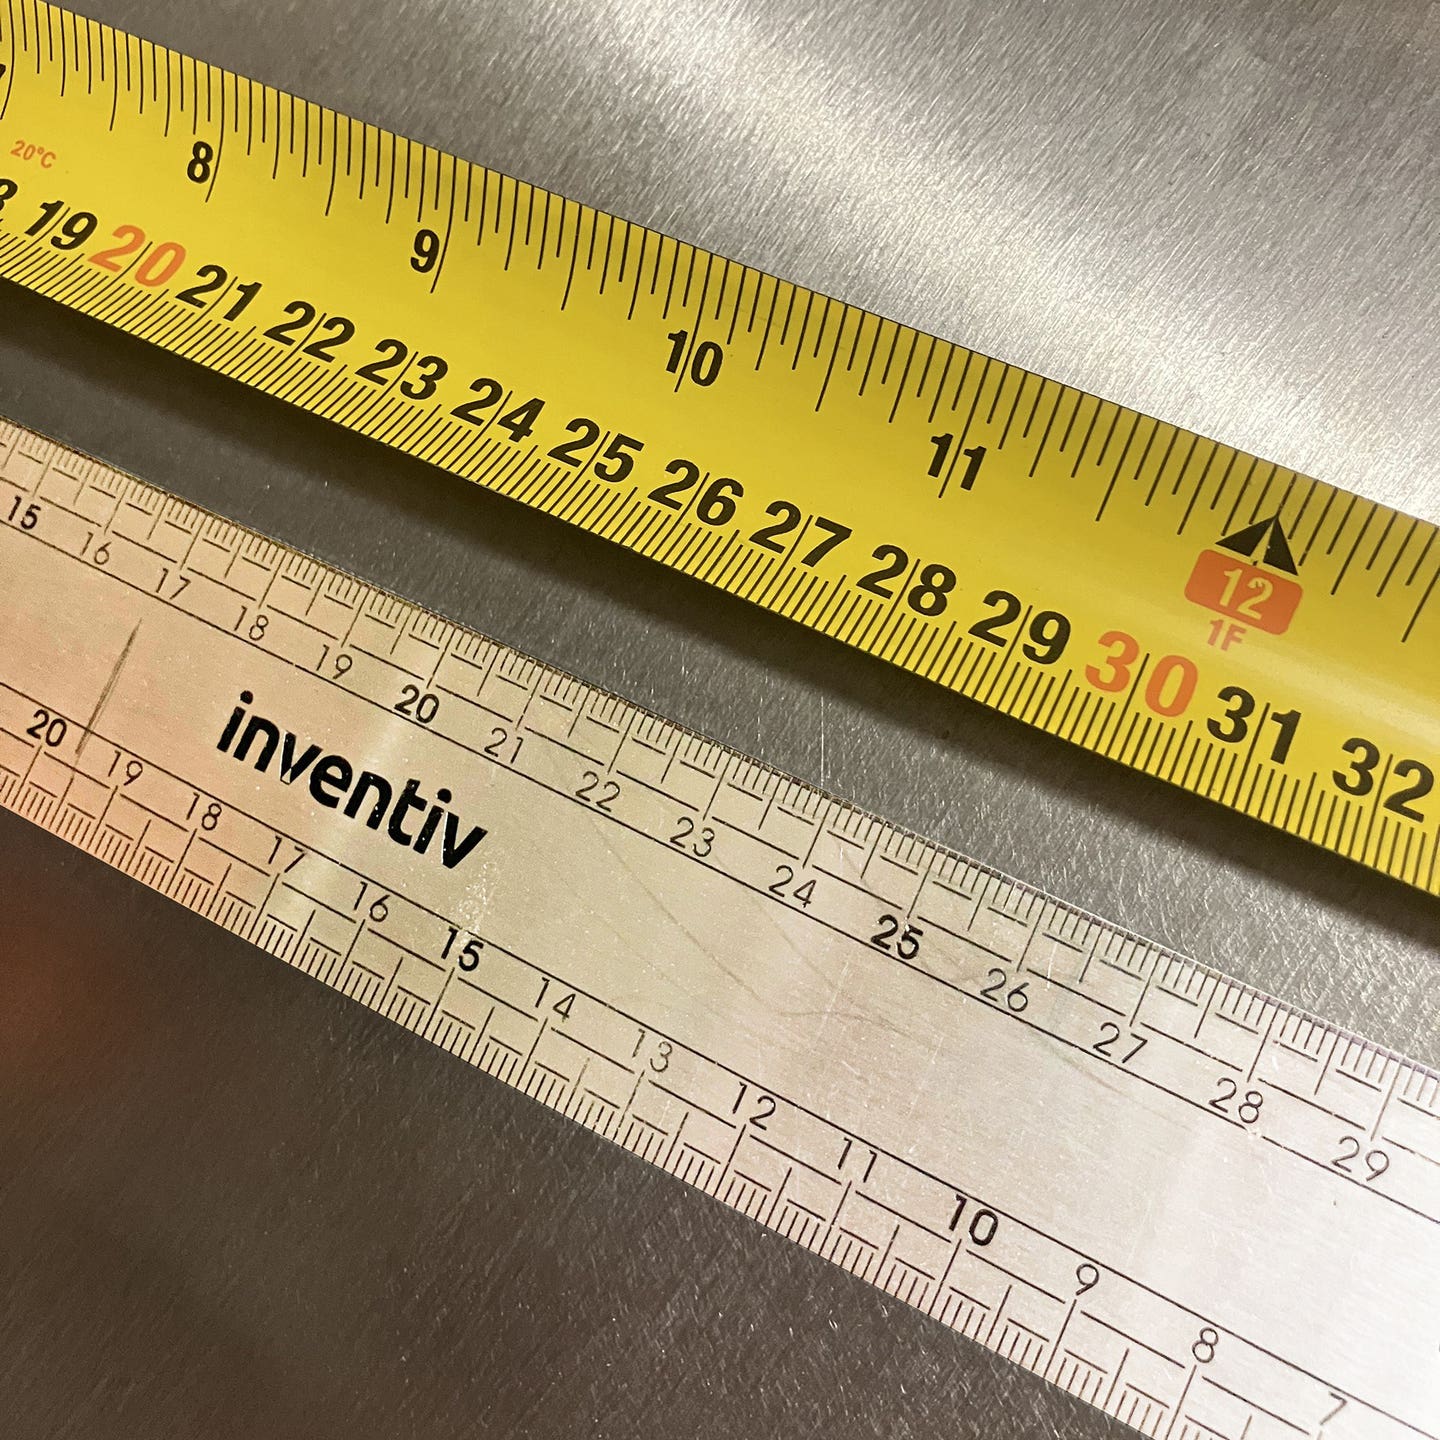


Over time, the moveable hook on a tape measure can elongate the holes that house its rivets, so the tape will oadd a small fraction of an inch to outside measurements or reduce inside ones. It’s a good idea to periodically drag out all the tapes, squares and rulers in the shop and check them against each other. Plastic measuring tools tend to be less accurate than engraved metal ones, so it might be best to use metal rulers as a baseline. The same is usually true of engraved increments (squares) as opposed to printed ones (tapes). It’s important to decide which measuring devices you trust and have the courage to throw away any that don’t deliver accurate results. It’s a lot less expensive to dispose of an underperforming plastic square than it is to build a set of drawers that are catawampus.
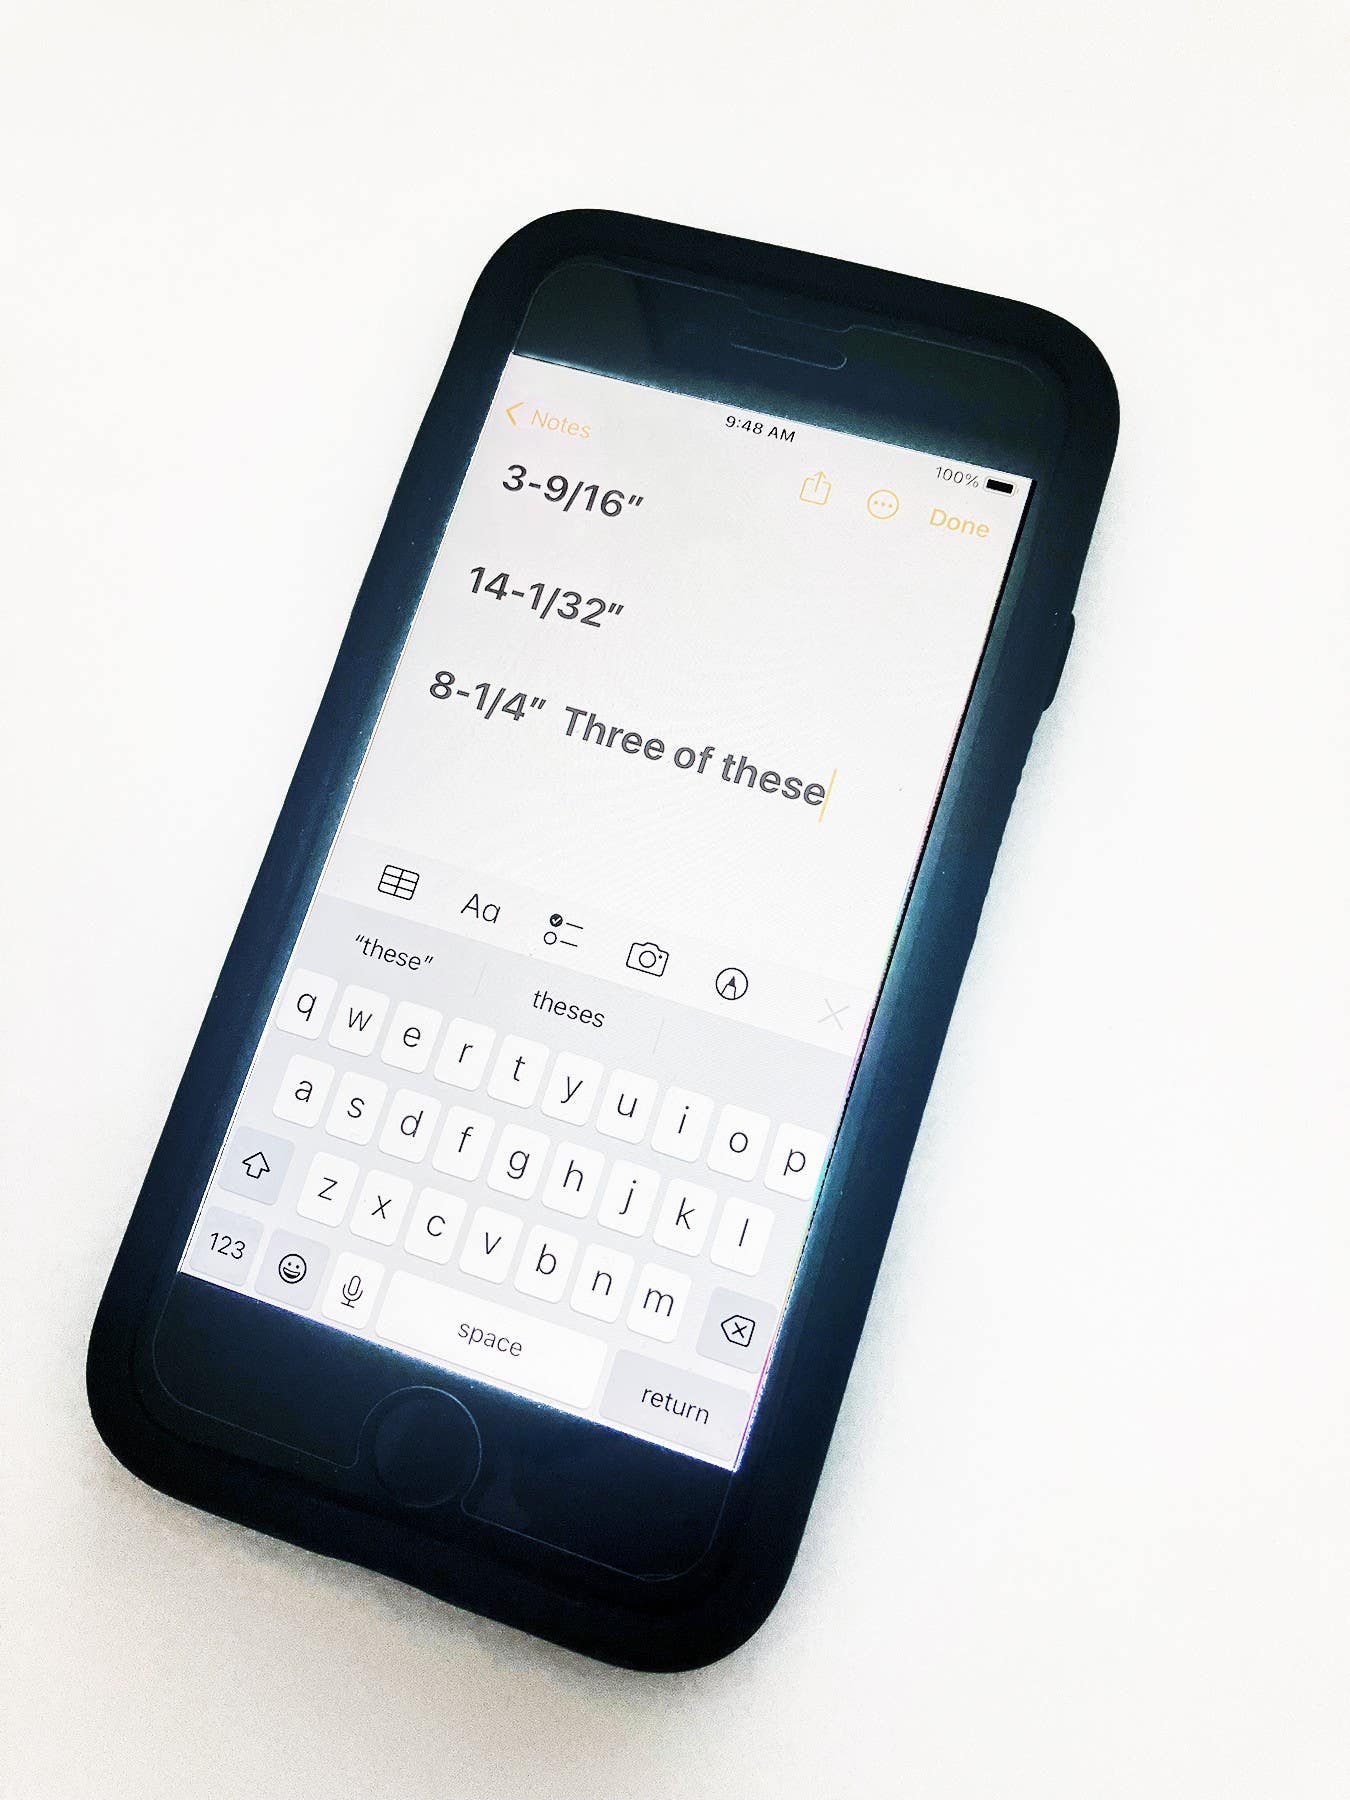
Woodworkers often attach a sticky note to their tape measure to record dimensions. Today, the voice memo app on a cellphone is a handier tool. It will record dimensions hands-free, which lets the woodworker use both hands to guide the tape, ruler or square. It also allows for editorial comments such as “make three of these”, or perhaps “cut on the left of the line”.
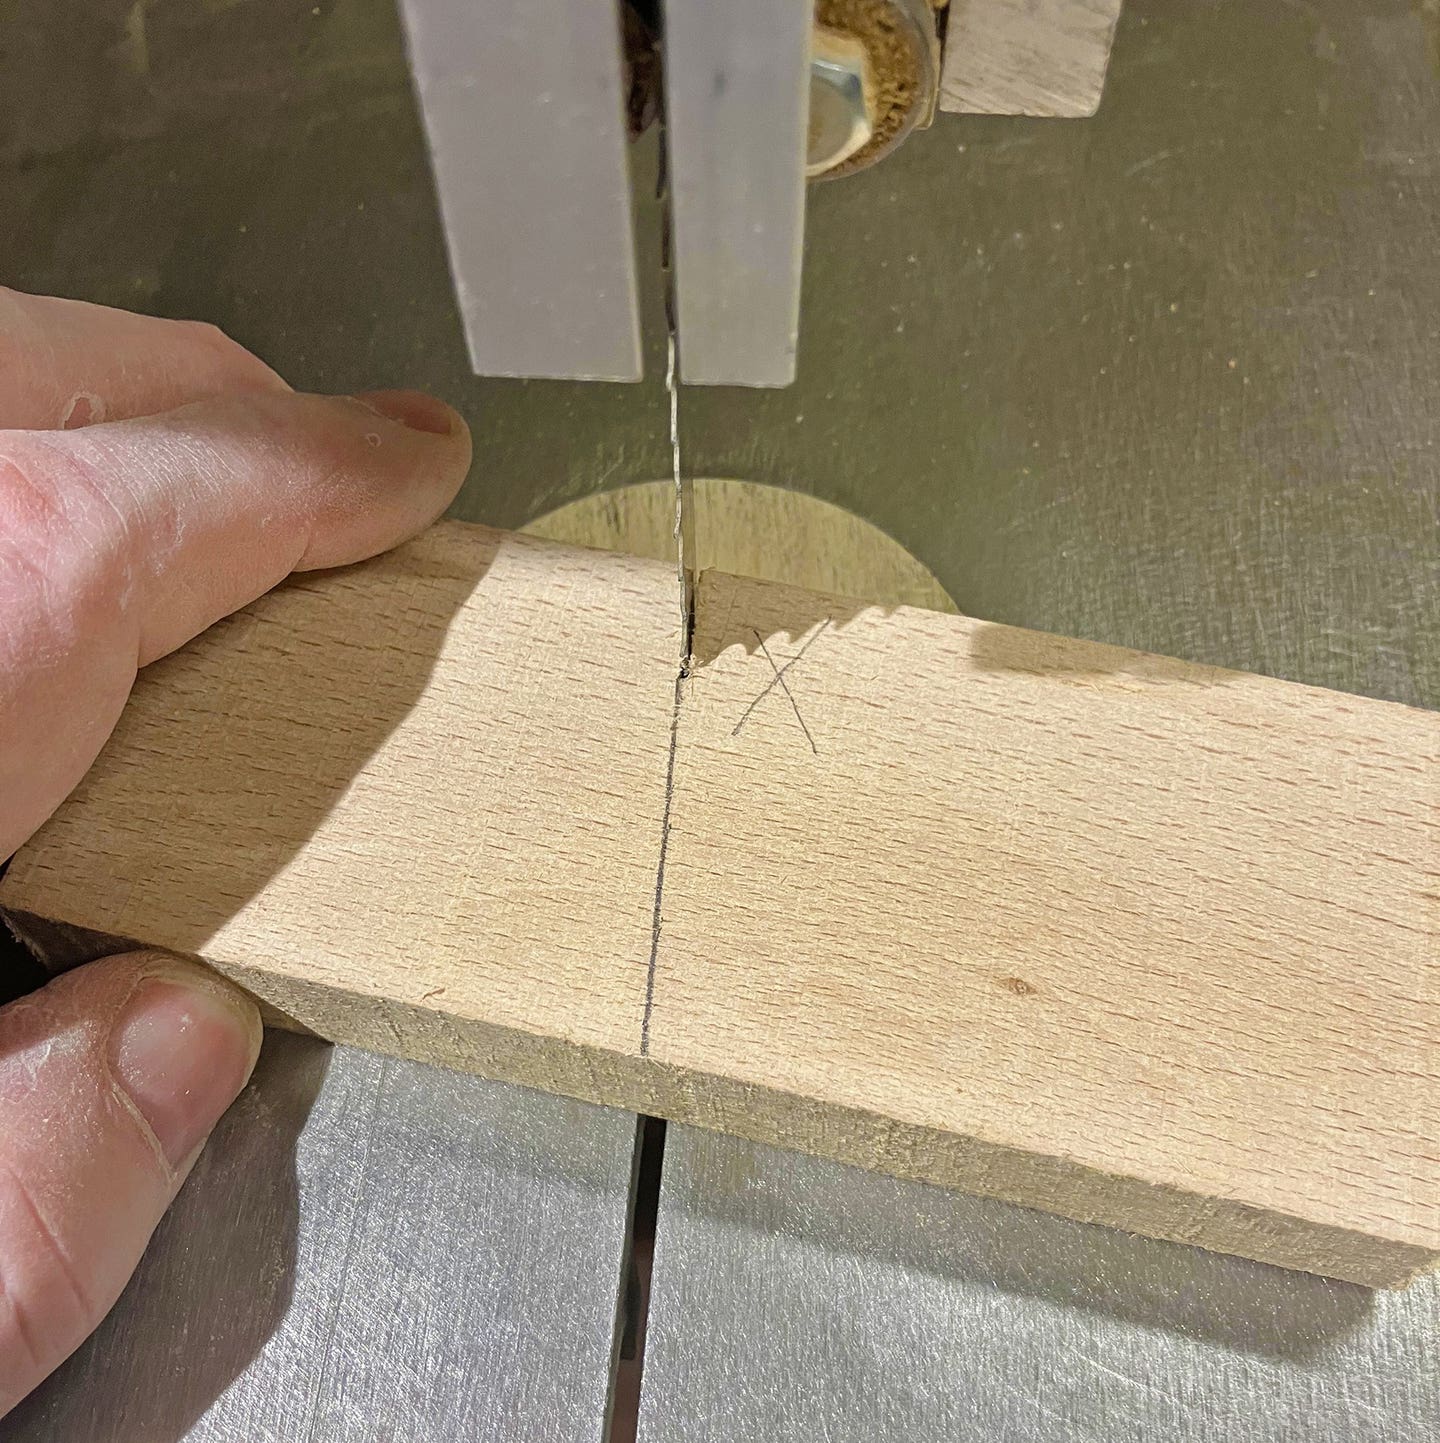
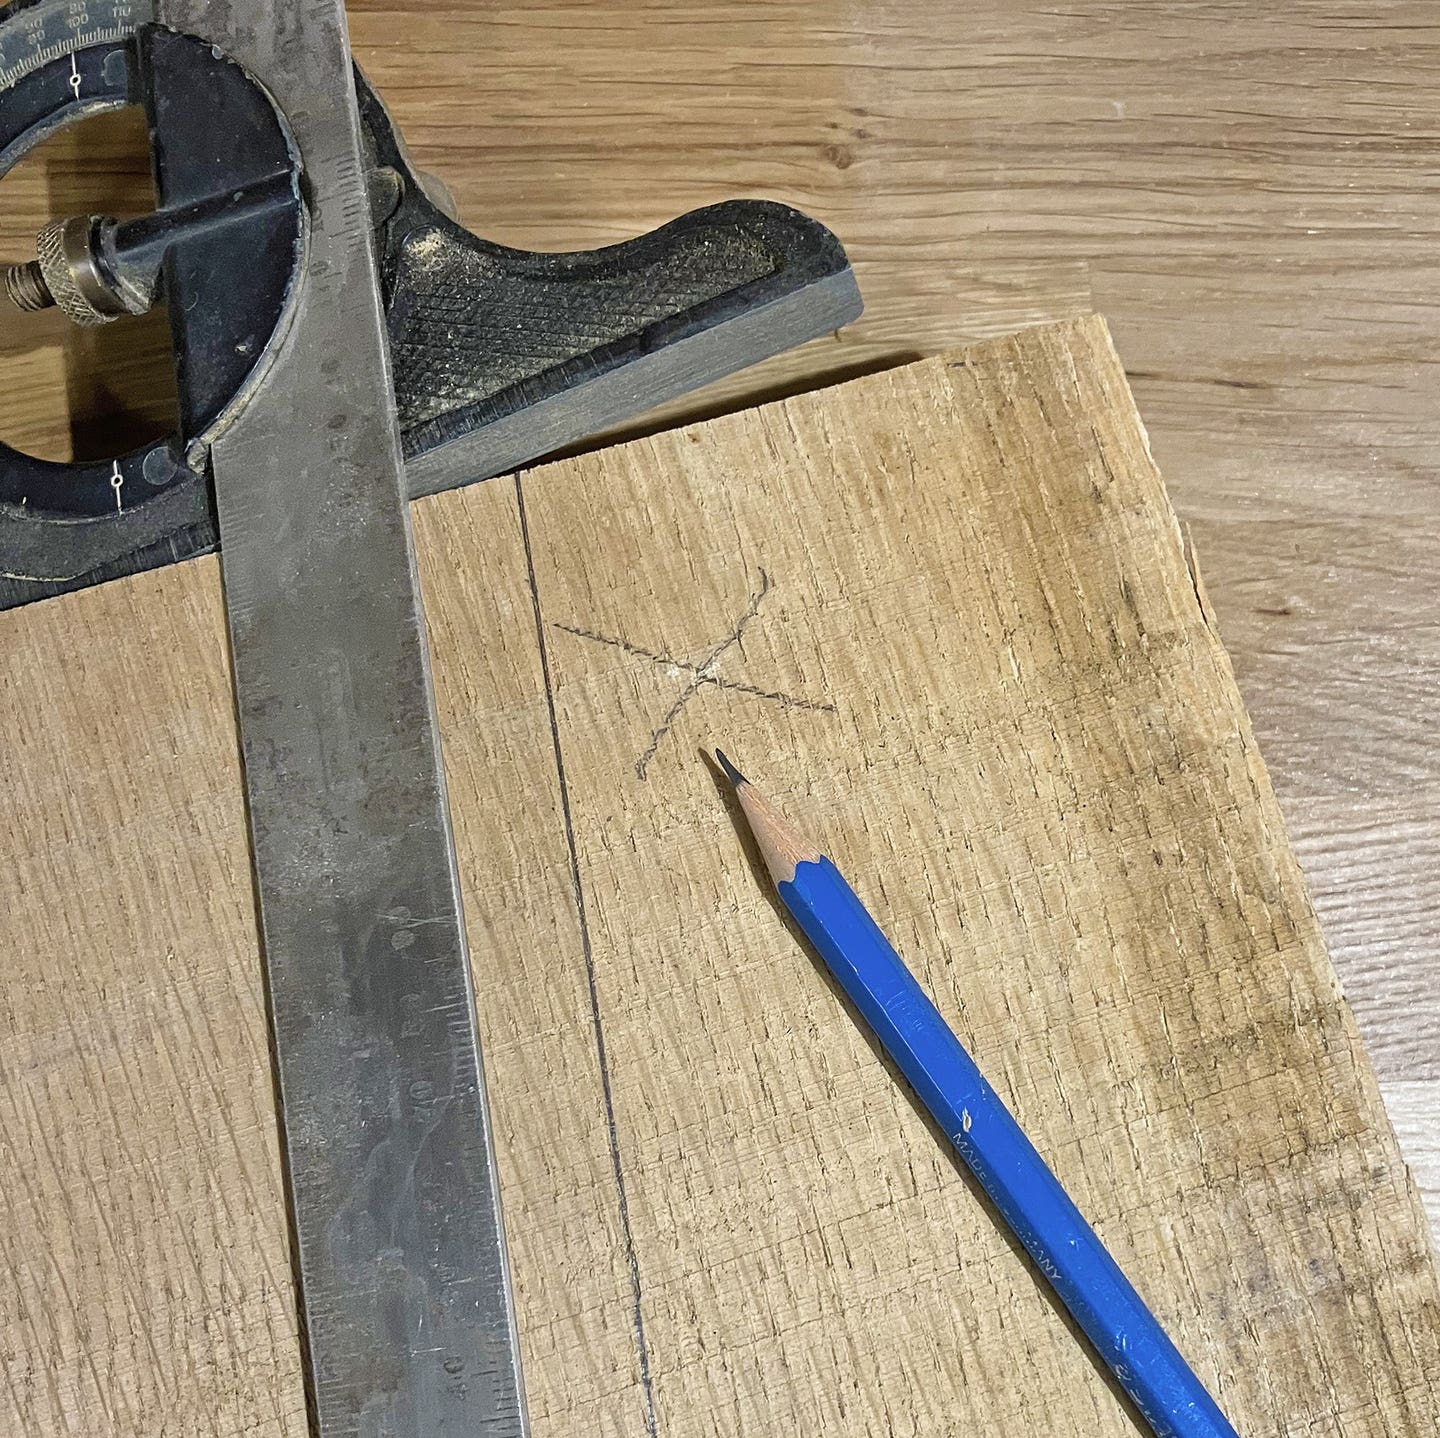
Speaking of that, it’s important to establish a protocol on the miter, band and table saws where the pencil line is always on the same side of the kerf. The keeper part should always be to the left. That way, the discards are always to the right of the blade, and some cuts don’t end up being a blade thickness shy. And that brings up another well-worn tip: when drawing a line on a board, always mark a small X on the waste side. It’s frustrating to get to the saw and not remember.
Woodworkers have always measured the diagonals of drawers or face-frame openings to check for square. If the diagonal measurements are the same, the corners of the opening are square and the sides are parallel (as long as the matching pairs were cut accurately). But making that measurement with a pull-out tape can be questionable. Again, it’s the hook. It moves. A better idea is to use two metal rules on edge, with a spring clamp to hold them together. The thin metal ends of the rulers will sit comfortably in the inside corners, and there’s no need to read and add the dimensions together because you’re just checking diagonals. There’s no math required. Just switch the assembly around and see if it’s the same in the other diagonal.
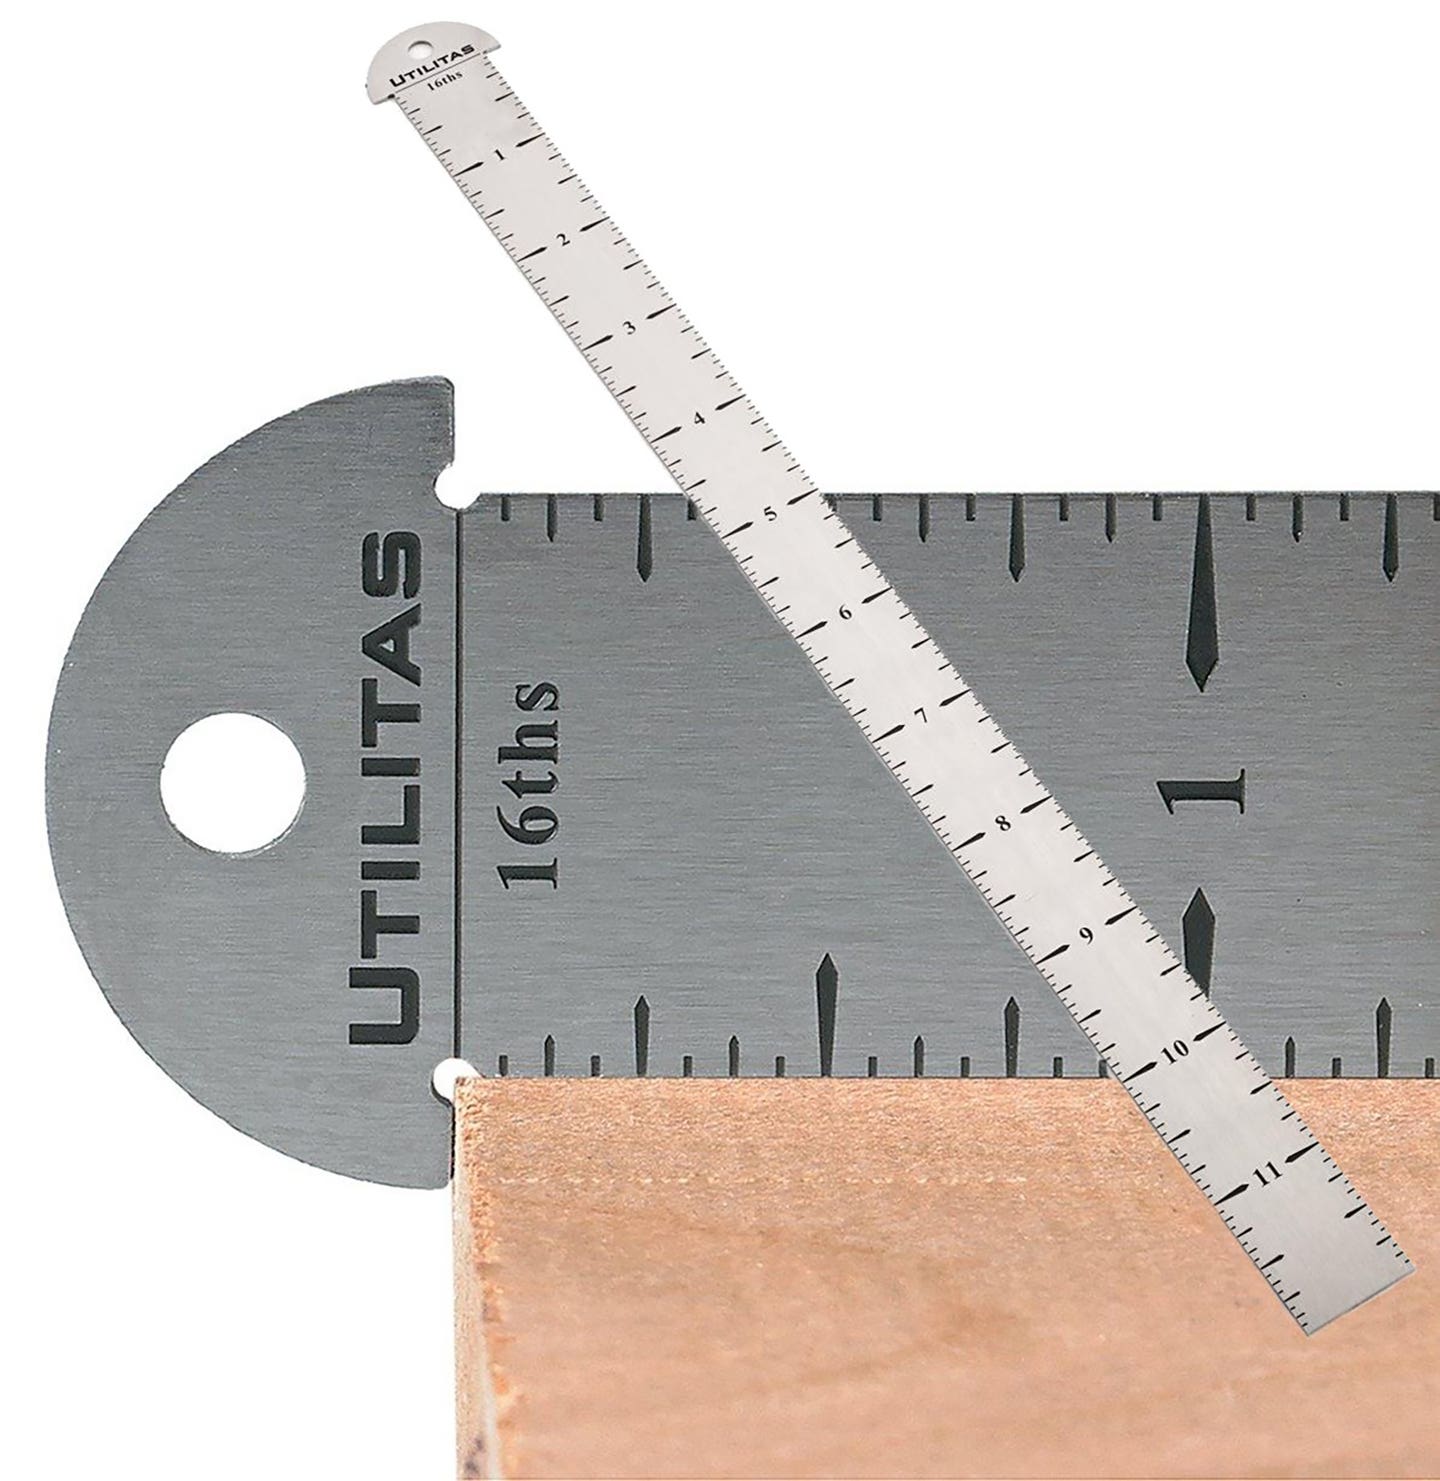
A ruler with a hook on one end gives a perfect reading for outside dimensions, and it’s a whole lot easier to use than trying to line up the 1” or 10” mark on a questionable tape measure with the edge of a board.
Story sticks have been around since the ancient Egyptians, and they can be used in two ways. The first is to lay out all the dimensions along the stick and then use it to place or locate joinery, door openings, moldings and other features. That’s the traditional use. The other and less formal one is to create the story after a part has been made. For example, one might use a scrap of wood to mark the overhang of a tabletop, or the height of a chair seat. It’s simpler than taking measurements and writing them down, and then transferring them to a second or subsequent piece. And there’s less chance of a mistake because no numbers are involved. One can also cut the scrap to length to make an ideal pattern for legs or drawer sides that are all the same.
Making marks
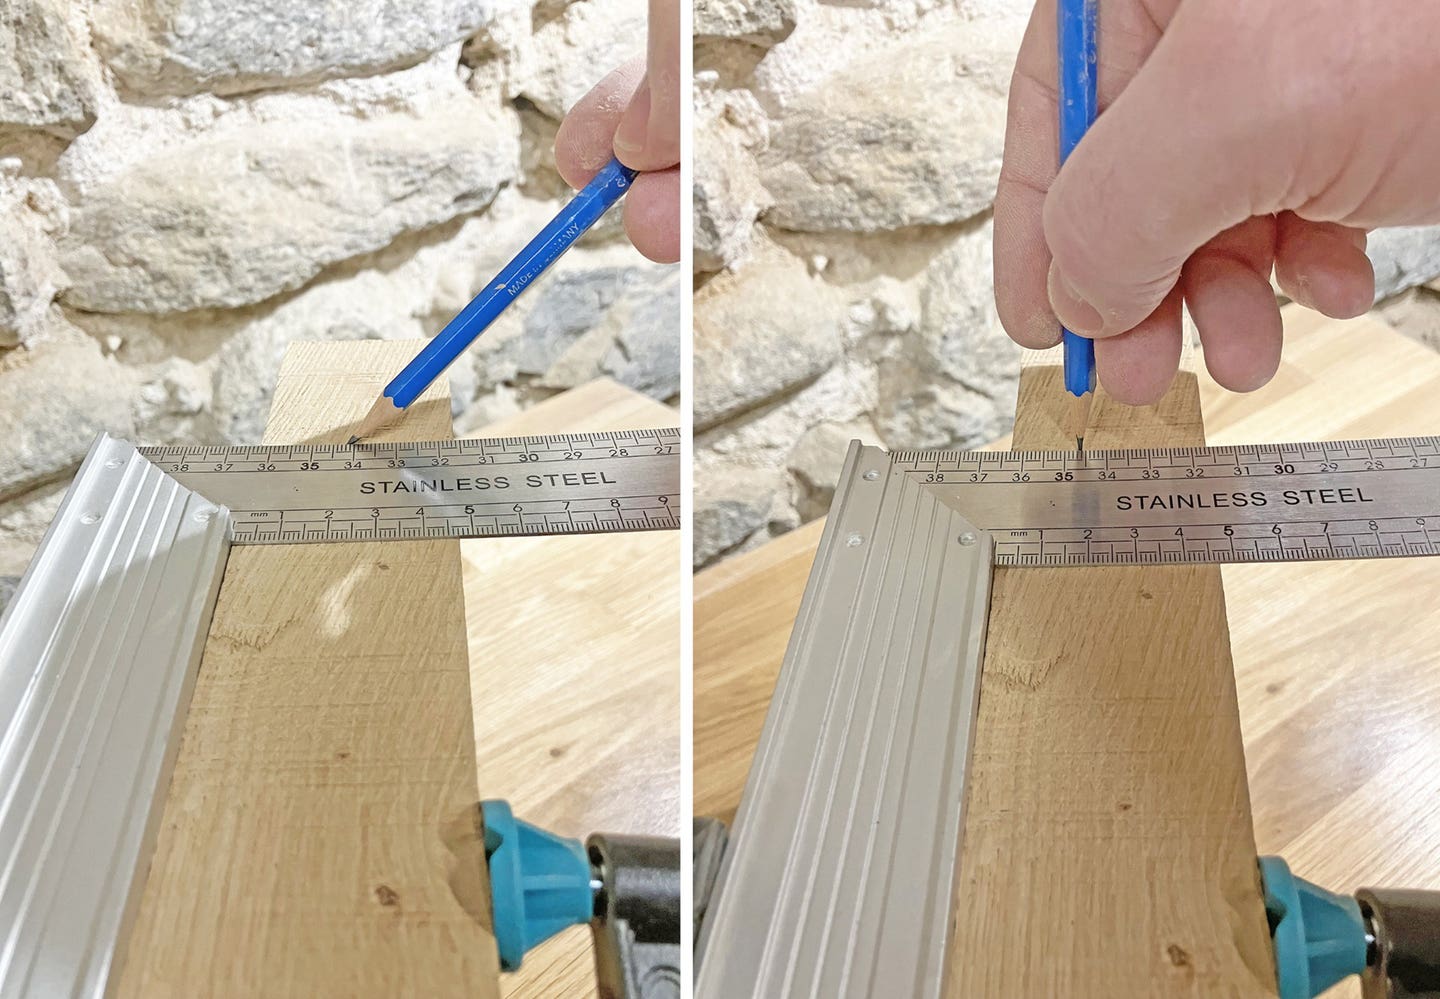
The trusty old 2B pencil is a perennial favorite on workbenches but it can be a bit soft for some hardwoods, and that means constant sharpening or thick lines. A slightly harder 2H might be a better choice. Mechanical pencils draw a thinner and more accurate line, but they’re brittle and snap easily. By holding a 2H pencil at about a 45-degree angle to the work and pulling it across the surface, it will leave a good line but won’t dig such a deep trough across the grain as it would were it being held at 90 degrees.
When erasing, denatured alcohol can remove many types of pencil lines without sanding.
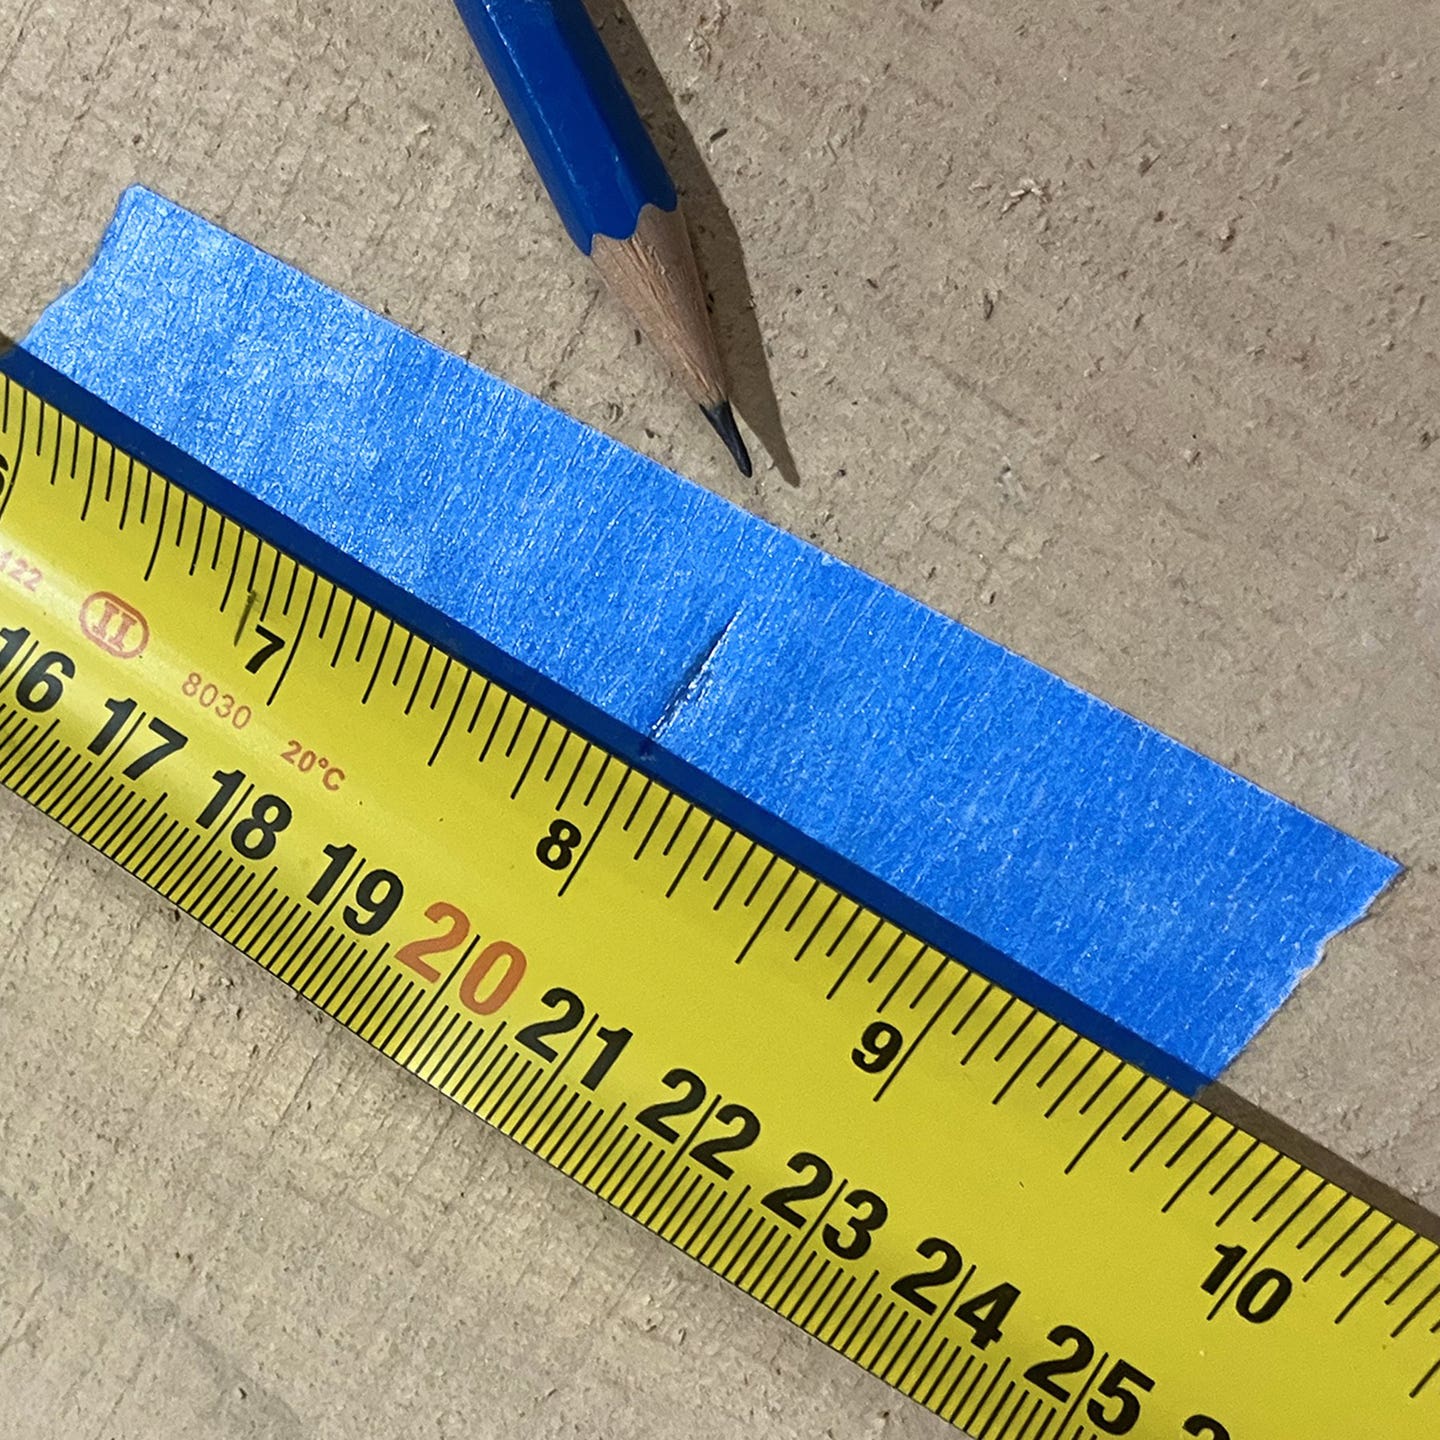
Blue painter’s masking tape is handy, too. Apply it where a line or mark needs to be placed, write on the tape rather than the wood, make your cuts, and then peel and discard the tape. Your marks just go in the bin, so there’s no need to sand.
For parts labeling, when fine lines are not needed, chalk is a good alternative. It cleans up easily without sanding: just use a slightly damp cloth and rub along the grain. It’s also good for remembering how boards should lie when they are being edge-glued. Simply lay out the boards and draw a few chalk hatch-lines across the joints. Then it’s easy to replace the boards in order and maintain their orientation during the gluing and clamping stage.
Marking knives are an elegant solution, but they come with a caveat. These are thin knives with one flat face and one angled or sharpened face. The flat surface lets the woodworker hold the knife tight to a metal straightedge. The small groove these knives leave will welcome the business end of a chisel and help make more accurate cuts. But the caveat is that it takes a little practice to restrict those grooves to places where they will be hidden, so one needs to learn how to stop the cut before it travels across exposed surfaces. Some fine furniture builders use marking knives to lay out dovetails and then leave the visible marks as a sign of craft, while other masters insist on removing them. Marking knives can also slice across the top fibers on a board and reduce the amount of tear-out when a machine makes cuts.
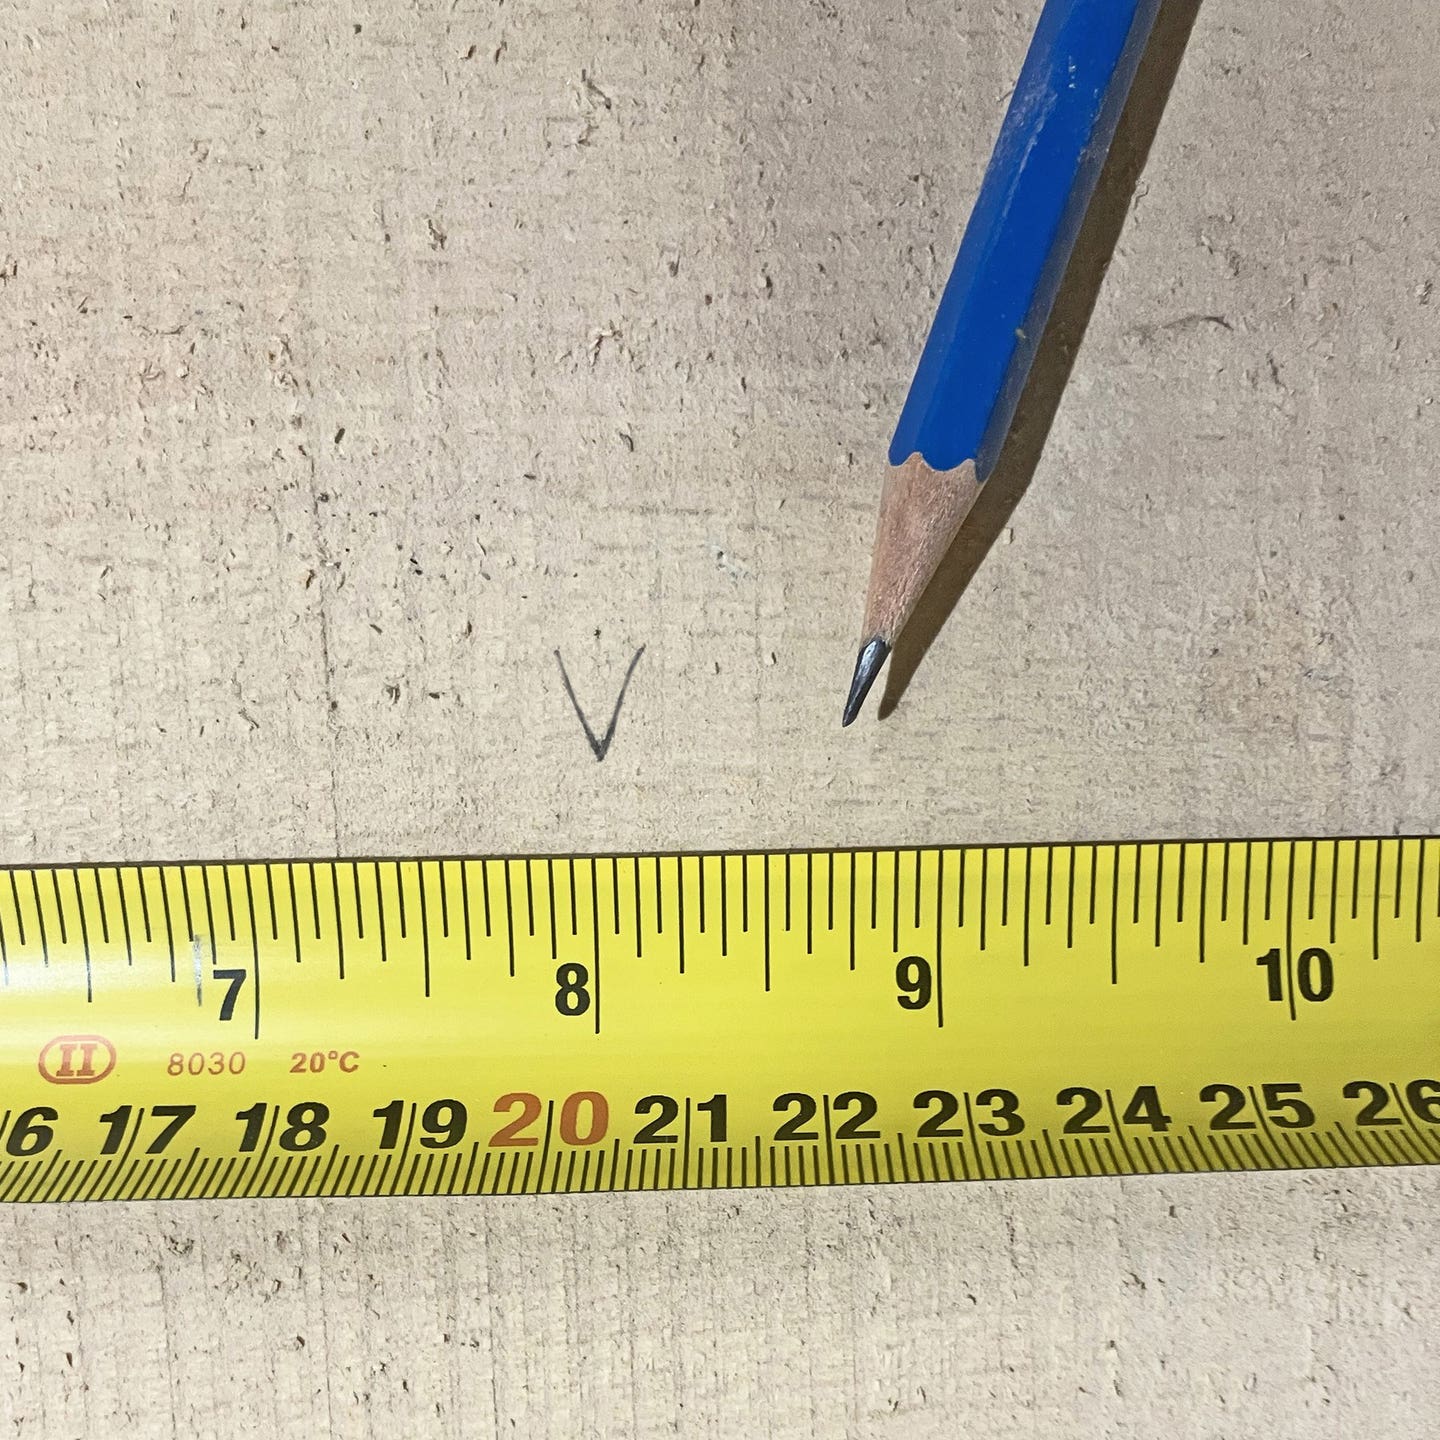
Making a small V mark with a pencil can be more accurate and less invasive than drawing pencil lines that can wobble or wander a bit. The tip of the V is the location of the mark, and sometimes this helps with alignment. For example, if one part is being moved across another, one half of the V gradually disappears. For cuts, it’s important to remember that the saw kerf will always be to the right of the point on the V, so the letter needs to always be written in the same orientation. An upside-down V switches the blade kerf to the other side.
Being unruly
Sometimes a straightedge with gradations can be used in more imaginative ways than intended. For example, if a woodworker needed to add 3-3/8” and 7-3/16”, there’s an easy way to do that using two rulers and no calculator. Just line up the zero on the second rule with the 3-3/8” mark on the first one, and then read the measurement on the first rule that coincides with 7-3/16” on the second rule (10-9/16”). It’s a handy way to add fractions without having to do the math.
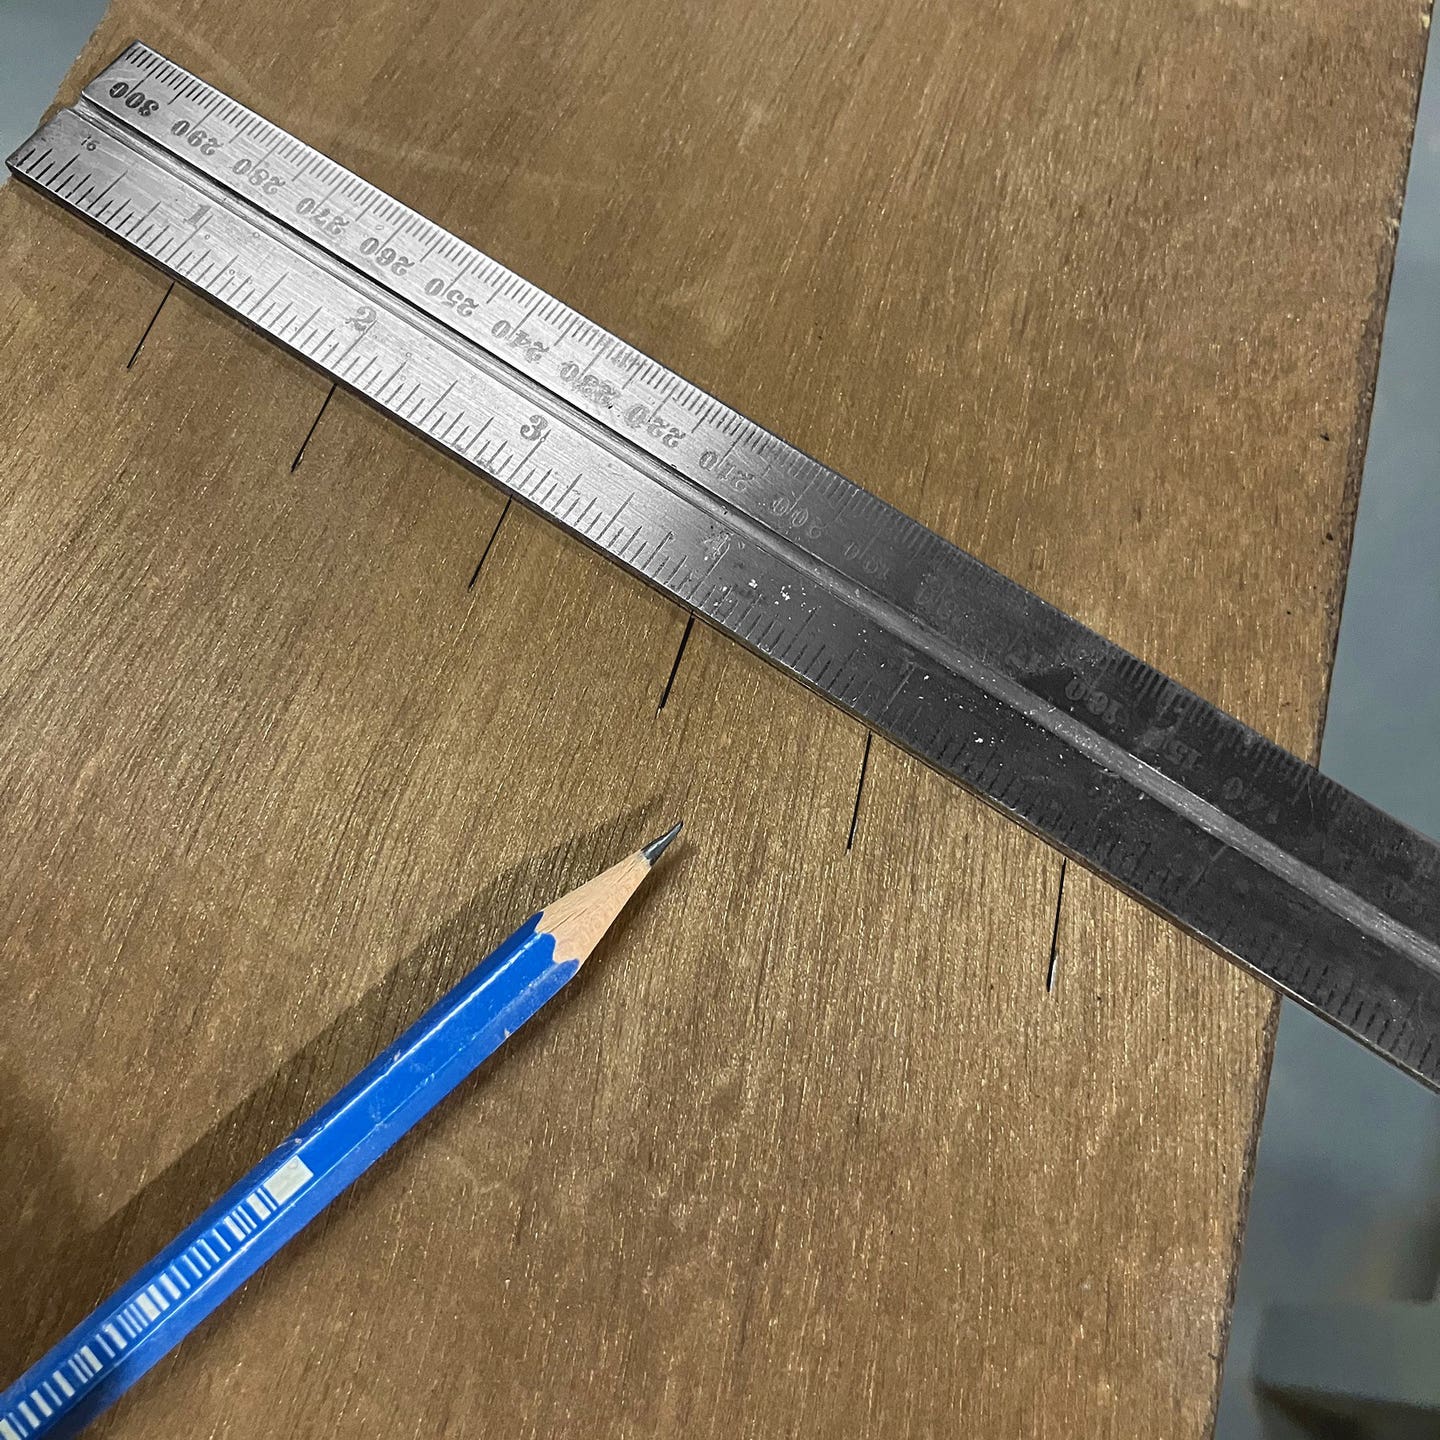
If a board or panel needs to be divided into several equal segments, a long straightedge with gradations can make quick work of that. Let’s say one needs seven equal marks across a wide board. Place one end of a long rule so that the zero lies on one edge of the board, and then swivel the rule until the 14” or 21” (any multiple of seven) mark aligns with the second edge. Our rule is now lying at an angle across the board, so it helps if a couple of spring clamps are used to keep it in place. If the woodworker went with 14”, then he can make marks at 2, 4, 6, 8, 10 and 12” to divide the board into seven equal segments across its width.
If one is using a thick rule such as an aluminum sheetrock square, it’s important to look straight down when making a mark. Because of the thickness, looking at an angle can move the mark slightly, but still enough to cause problems. It’s called a parallax error.
Another common error in measuring is made when a woodworker cuts a part and then uses that to mark the next piece. It’s a much better idea to use a single original part to make all markings. If one uses the freshly cut part as a template each time, there can be a cumulative error where all those pencil lines eventually add up and cause the parts to grow a little, or ‘creep’.
Avoiding calculations is always a good idea, so experienced woodworkers don’t usually measure a board and then do the math to find center. They just round up the number (for example, a board that is 73-9/16” would become 74”), divide that whole number quickly in their head, and then mark 37” in from each end of the board. Now there are two pencil lines that are quite close together (in this case just 7/16” apart), so the cabinetmaker can just eyeball the center and mark it. There will be times when that’s not close enough but in most cases it is, and it will save time.
Yes, we should measure twice and cut once. It’s a nice, logical, sensible, black and white rule. But real life is a series of grays.
Originally published in the June 2024 issue of Woodshop News.