Handle with care
While there are some woodshops that are dedicated to furniture repair, most of us only occasionally get talked into doing it. Usually it’s not a complete refinishing project — just…
While there are some woodshops that are dedicated to furniture repair, most of us only occasionally get talked into doing it. Usually it’s not a complete refinishing project — just fixing some missing veneer or regluing a drawer or two. After 30-plus years in the furniture-making business, here are a few notes that might smooth the way for occasional renovators.
The biggest enemy of old furniture is location. Pieces that are moved to drier climates from relatively moist regions such as Washington state or Florida will tend to shrink. Joints come loose, panels get narrow and tabletops begin to crack. America’s antique dealers have combatted this since folks started emigrating westward and the prevailing advice is to try to slow down the change in humidity. If possible, move the furniture in the spring or fall, when the two climates are more in tune with each other. In the new, dry zone, keep a humidifier in the room during the winter months.
It’s not a good idea to store furniture in an unheated garage, woodshop or storage unit, especially during its first winter in a new location.
In very warm, moist conditions, hide glue can begin to fail. If possible, replace it with a similar adhesive, rather than a PVA (modern woodworking glue). Hide glue is more forgiving and it also is more historically authentic. Franklin makes a Titebond version of hide glue in a squeeze bottle — no need to kill a steer and boil his hide anymore or even mix powder with water in a hot pot.
Certain cuts misbehave more than others. Plain-sawn wide shelves and tops will change dimension across the grain more than quartersawn boards. If you’re working with old upright pianos or perhaps dining tables from the early 20th century, many of them have a quartersawn veneer laid on inexpensive plain-sawn species such as poplar, pine, ash and even on occasion something unusual like cottonwood (they used what they had before plywood). In those cases, be aware that the substrate will move more than the veneer in response to ambient humidity, so that’s what should hold your attention.
Location within a room can be an issue. If the opportunity presents itself, mention to your clients that antique dealers caution against placing older furniture by south-facing windows or near HVAC registers. Antique woods should be kept out of direct sunlight, or the finish can yellow, crack or cloud up. Heat sources can shrink joints and release veneer glues. Again, one should always try to regulate humidity to avoid movement, mold or mildew. By the way, diluted household bleach (10-to-1 with water), applied with a rag and wiped off immediately, is a good treatment for mild mildew.
Repairs
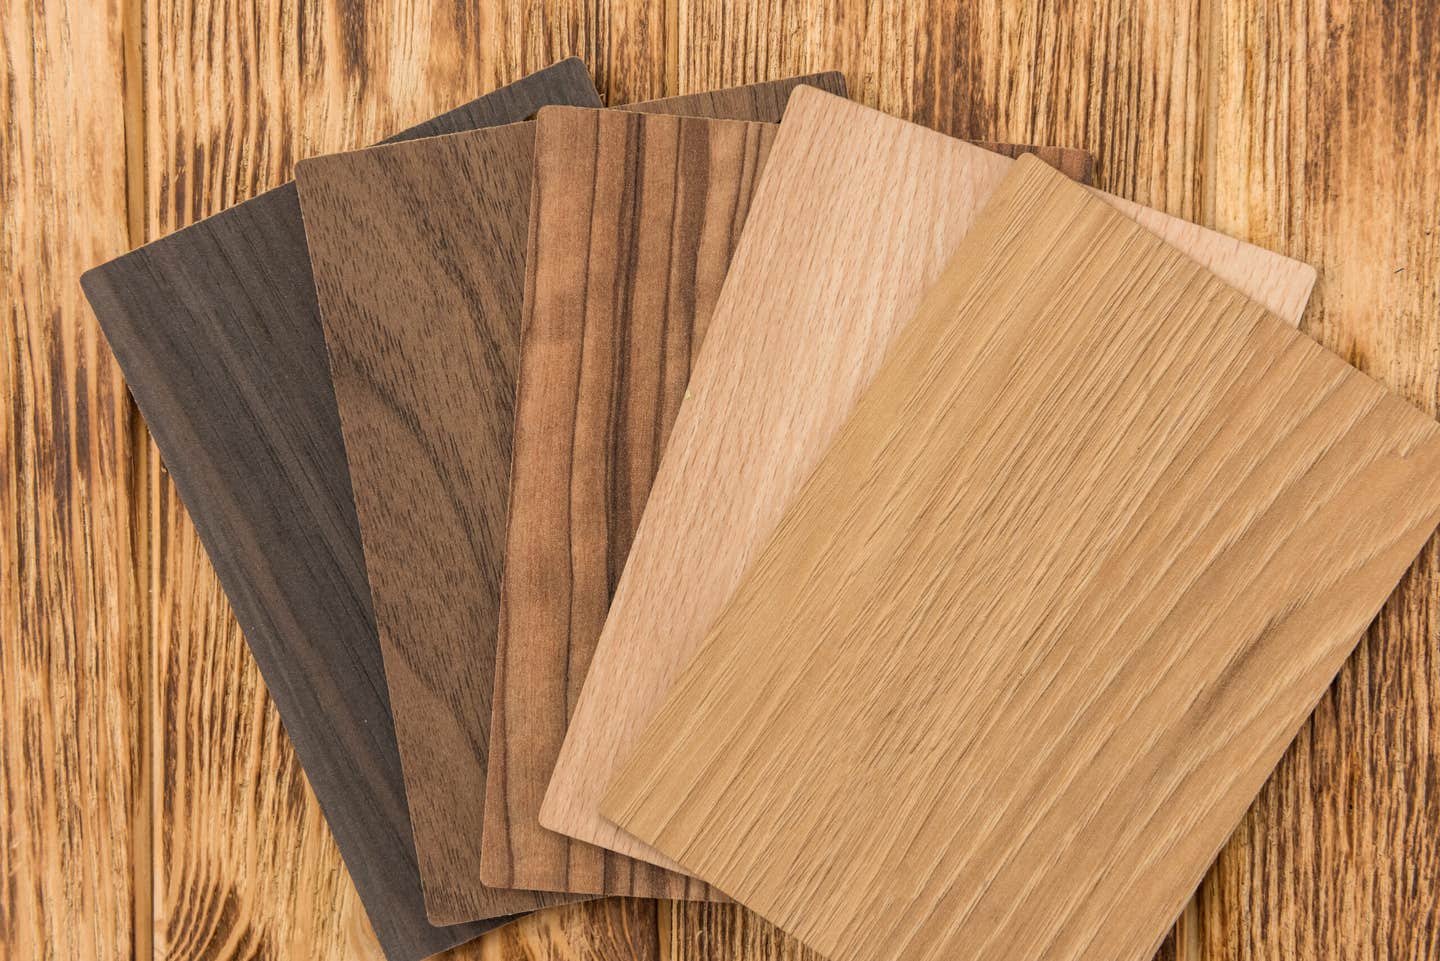
Historically, veneers were a whole lot thicker than they are now. At a minimum, they were a fat 1/32”, as compared to the modern standard of about 1/40”. (Some imported plywood now carries a 1/60” thick “birch” veneer. It’s like working with a thin coat of paint). Veneers can be laminated to gain thickness, but don’t cross-bond them. That is, the grains should run in the same direction as the substrate.
Peel-and-stick veneers are probably not the best choices for repairing or replacing antique veneer. They work great on plywood substrates but, for old boards, applying shop-cut (or purchased) solid wood veneer and using hide glue is a better choice.
Just a quick note to anybody not familiar with using veneer: if the product arrives with paper tape on it (as it does with factory-made inlays), the tape should face up so the glue is applied to the other face and the paper is sanded off after the glue cures. If the paper is glued down, it will eventually telescope through thin veneer.
If you use locally harvested wood for repairs, it might not color-match. There are lots of reasons for this. Northern hardwoods from, say, Minnesota, have a different grain structure than trees growing in Georgia, because of the length of the growing season. They are also subject to color variations because of the different mineral composition of the soils, the difference in rainfall and the existence of regional subspecies that have evolved with slight genetic variations. When the new wood is lighter than the original, some experimenting with stain on scraps can solve the problem. If the new wood is darker than the original, one can begin the process by using wood bleach on the new stock, then a neutralizing agent and finally building up the color again with stain.
If you’re working with old hide glue, moisture and heat will allow the joint to come apart. This is especially useful with chair joints, but it has advantages for veneering, too. New hide glue is tacky immediately and sometimes doesn’t even need to be clamped. It has a long open time, can be sanded and even bonds to old glue. PVA products generally won’t adhere well to old glue, so the joint has to be completely clean (that is, all the old glue is removed) before modern adhesives will work properly.
Finishes
Antique dealers, especially those working with rare or valuable pieces, absolutely do not want the original finish removed or even altered. The accumulated layers of dirt and oil from generations of hands has created a patina that is valued as part of the uniqueness and originality of a piece.
Your customers should know that, once a repaired piece leaves your shop and goes home, they shouldn’t spray it with furniture wax or polish. That’s because many popular brands of furniture polish contain silicon that leaves an impenetrable coating on the wood that needs to be fully removed (along with the wood that it has penetrated) if the furniture is ever refinished or repaired. Instead, the remedy for most antique wood surfaces is to apply a thin coat of a hard paste wax with carnauba (Minwax makes one). Check with an antique dealer before doing anything because even wax can be a problem with some more valuable antiques. To apply the wax, wrap it in cheesecloth to prevent smearing and then buff it out with a soft cloth such as an old cotton T-shirt until the wax gets hard. Electric polishers tend to burnish unevenly and are not advised.
One doesn’t always need to rewax when buffing. Waxing can be done once a year or so. Again, check with a reputable dealer before treating a unique piece of furniture.
One shouldn’t wax if the finish is already failing. In that case, it’s time to have a restoration expert take a look at it.
Another common practice is to oil antique wood. Oil finishes are great for new wood, but “furniture oil” just builds up on previously finished surfaces. It looks great until the dust accumulates. Just go with the wax and, in between, dust regularly with a lint-free cloth. Dealers also advise against removing the patina on hardware, especially brass and copper. Shiny, they say, isn’t always a good thing. Neither, apparently, is antiquing gel because it tends to devalue older pieces.
This article originally appeared in the October 2012 issue.


