Getting it just right
In the second in a two-part series, we look at common defects and flaws in hardwoods that can alter the price and quality There are a few terms that come…
In the second in a two-part series, we look at common defects and flaws in hardwoods that can alter the price and quality
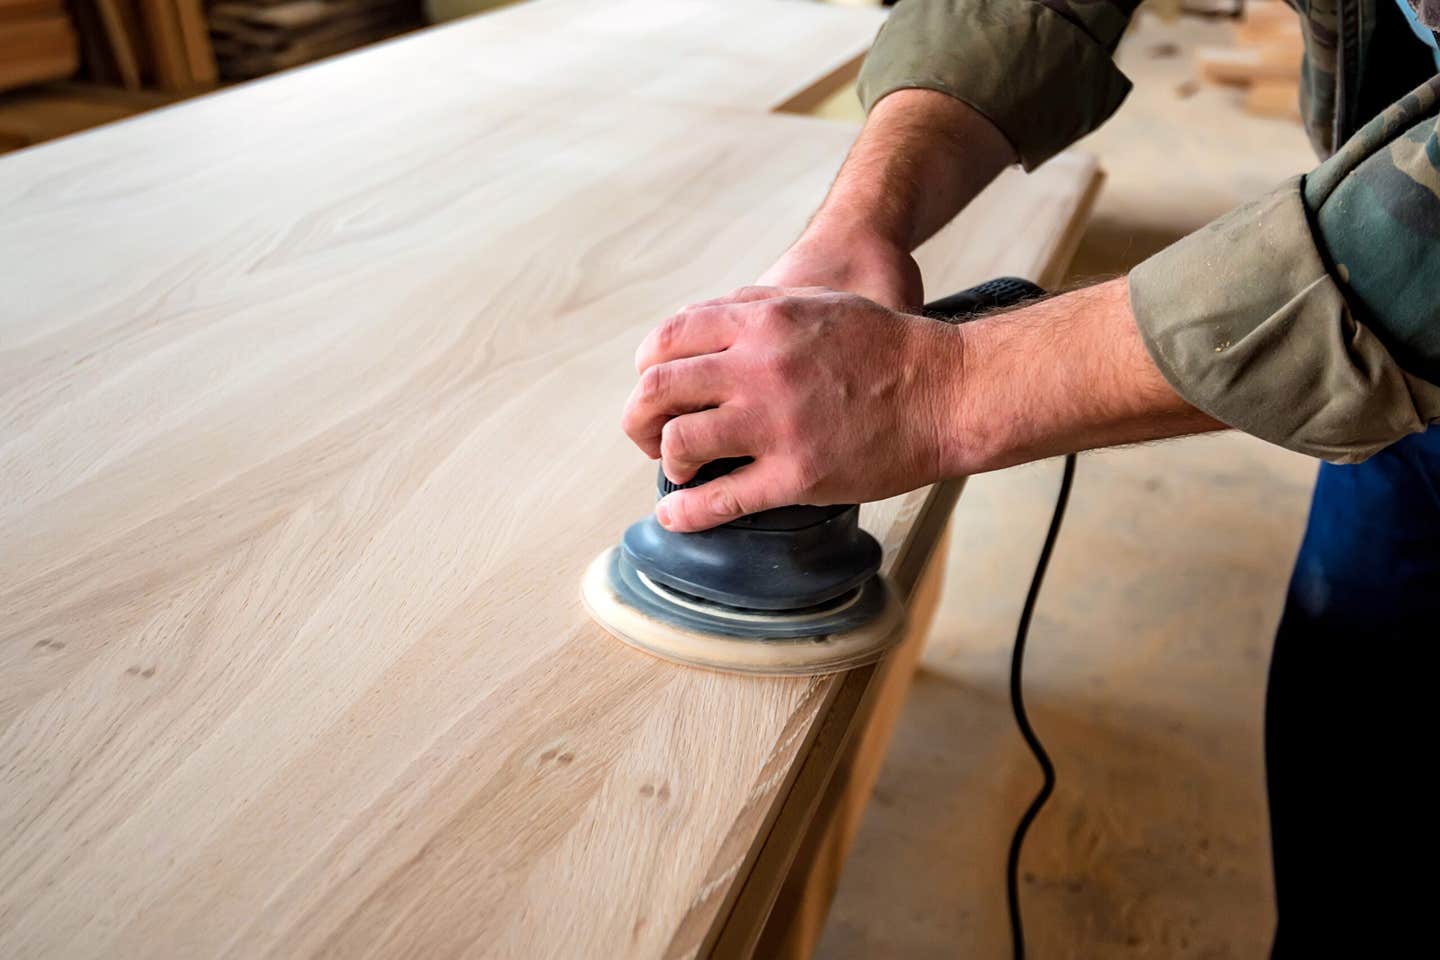
There are a few terms that come into play when boards are being milled and these refer to the amount of planing and/or sawing that the supplier does. The more work they are asked to do, the more they charge.
Boards begin this journey as RGH (rough grade hardwood). Most suppliers will prep boards by planing the wide faces. S1S means that a board has been surfaced (planed) on one surface (face), but not flattened first by a jointer. S2S means that the board has been planed on both of its wide faces.
Most suppliers will also offer straight-line ripping. This means that they will make either one or both edges relatively straight by ripping a thin piece from the edge(s). R1E is the trade terminology for “ripped one edge”. Sometimes a client wants R2E (ripped on two edges), although usually this is only done if the stock will be fed to a commercial molding machine. Ripping makes the board safer to run against a table saw fence. Sometimes, the stamp will read SLR1E (straight-line ripped one edge).
Some suppliers will go a little farther for their customers and offer to joint the ripped edge. That means that they pass it across a jointer. The way that this is described is J1S or J2S, but a buyer should be aware that it isn’t always done well, especially at small yards and mills. Boards can be held at an angle, fences can be off a little, etc. It’s generally not an option worth paying for unless there is a commercial reason for doing it (for example, if the boards will be used as lap siding). If the process is done on a four-head molder (S4S), then it is far more reliable.
A very few mills will do custom resawing. This means standing a board on edge, band-sawing it into two thinner boards and then surfacing the cut faces. This is a practice that is far more likely to be done in the woodshop after the boards are delivered.
The big three
The most obvious defects in hardwoods are bows, crooks and twists.
A bow is a curve along the length of a board. If the board is placed on a flat surface, it will either rock with the bow down or create a bridge with the bow up. A bow can often be corrected on a jointer. It’s a good idea to cut it into shorter lengths first, if the job will allow that. When run on the jointer, the bow should be up, so the ends meet the blade first. Otherwise, it will rock from end to end and never get straight. Sometimes a bow is so pronounced that the amount of material that needs to be removed will leave the board too thin to use. One mistake that new woodworkers sometimes make is to push down on the bow (middle of the board) when passing it across the jointer. This prevents the cutters from removing just the high spots at the ends. After jointing, the board must be run through the planer to make its second face parallel to the first, flat, jointed one.
A crook is a curve along the edges of a board, even though the wide faces might be relatively flat. This needs to be fixed before the edge can be run against a fence. Turning a curved edge into a straight one is called straight-lining, and it can be done with a jig on the table saw or by making repeated passes over a jointer. Hand planing or even band-sawing most of the waste before going to the jointer really speeds up the process. A board with a crook will probably have uneven tension in it (tight grain along one edge and loose grain along the other), so it may never remain straight.
Twists occur when one end of a board slopes to the right while the other slopes to the left (or vice versa). These boards should be avoided.
Other defects
Blue tints are generally the result of fungal activity and occasionally a mineral deposit in the soil, although in softwood it might well be the result of an attack by the pine bark beetle. This can usually be disguised with stain, but it’s a good idea to try a test piece before committing to such lumber.
Split ends, known in the trade as checking, can be a problem. Look carefully along the grain on both sides of a board that has checks to see just how far they extend into the wood. Think about whether the project calls for narrow pieces that can be harvested from either side of the checks or whether the split area renders the board too short to work. If the checks disappear after a few inches, they are probably the result of drying. If they extend more than a foot, the board might have endured some other trauma (perhaps it was dropped) and the split either has or will run along the grain.
If a board is relatively straight along its length, but both edges curl in the same direction, this is known as cupping. Almost invariably, this occurs with plain sawn boards rather than rift or quartersawn ones (see below for various lumber cuts). It is the result of one face drying more quickly than the other, usually when the board was in a pile that hadn’t been stickered. Cupped boards are difficult to salvage and should normally be avoided.
Knots and bugs
Beyond their size, there are two types of knots: tight and loose. Tight knots are usually not a problem unless they occur in a part of the board that will be milled (for example, where a decorative edge will be routed). The main issue with them is aesthetics: how will they look? Loose knots, on the other hand, need to be discarded and the number of small parts to be cut for a project will affect the decision as to whether the rest of the board is usable.
Sap or gum residue in the form of a hardening resin is generally an indication that the tree suffered an injury and the cambium layer has attempted to seal off the wound. One needs to check that the resin doesn’t extend too far into the board and then allow for cutting away the affected area.
Insect damage usually presents itself as wormholes in the sapwood. Depending on the species and the board’s geographical origin, these can be anything from minute pinholes to large, long, powdery tracks. If the board has been kiln-dried, the residents are most likely cooked. If it was air-dried, they may not yet be, and some insect species can actually migrate into the workshop walls and the woodworker’s lumber pile. Sometimes insect damage adds to the beauty of a project, but it is usually not a desirable trait.
Not all impurities in a board are undesirable. Sometimes a little rot or mineral damage can be used as an artistic embellishment, such as spalting (thin black lines, often erratic and sometimes spider-webbed), or white patches and other evidence of fungus. Wood turners and art furniture builders often prize such wood as an accent material. But when buying hardwoods for most furniture or casework projects, it’s probably a good idea to stay away from any type of fungus (especially brown versions) until one is well-versed in their nature.
If it splits, split
There are other defects to be avoided. Boards can have sticker stain (thin lines left by the wooden spacers used in a kiln), excess wane (natural bark along one edge), or case hardening. This latter occurs when a board that is dried too quickly shrinks on its surface and compresses the still-wet interior. As the wet area expands because of daily or seasonal heat cycles, it causes cracks in the surrounding dry cells. When shopping for hardwoods, look for evidence of case hardening that will show up as either numerous small splits along the grain or a honeycomb effect close to the middle of a board.
One man-made defect to watch for is mill marks. These are parallel lines stretching across the board (from edge to edge). If these can be ascribed to a planer, they will most probably be eradicated as the board passes through the shop. If, however, they are the result of a band mill’s blade, they can sometimes be so deep that to remove them means the board must be planed to a less than usable thickness.
Boards sometimes have defects from more than one cause, but they are so attractive that they can be worked into a project as a showpiece. The book-matched cherry board shown here (above) has mineral streaks, a wound (perhaps from wind or lightning), and some insect damage. Many art furniture builders prize such boards and sometimes they fill the voids with clear or colored epoxy, turquoise, or other contrasting materials.
Hardwoods and softwoods
The difference between a hardwood and softwood is not found in their specific gravity or density or even their physical hardness. For example, balsa is a physically soft hardwood, while yew is a rather hard softwood. The difference is as simple as this: softwoods are coniferous. They have cones and hardwoods don’t. Most softwoods also have needles instead of leaves, which they usually don’t shed, although there are exceptions such as the tamarack larch. Hardwoods in North America almost all have leaves, which they generally lose in the winter. Most tropical hardwoods don’t shed, making them technically evergreen. Again, if it doesn’t have cones, it’s a hardwood.
Physical hardness can be both a blessing and a curse because very hard species are often difficult with which to work. For example, the hardest native species is hickory, which is used for stressful situations such as hammer handles and flooring. Unfortunately, the wood is brittle and it tends to shatter along the edges when machined on router tables and even table saws. Next in line for hardness is pecan and then hard maple, white oak, beech, red oak, birch, ash, walnut, soft maple and cherry, in that order. Beyond these, the softer hardwoods include alder, poplar and aspen (about 20 percent as hard as hickory), and none of these have notable grain patterns.
In most cases, heartwood is preferable to sapwood. Heartwood is closer to the center of the tree and is, essentially, dead. It forms around the pith, the small core at the center of a log, and grows a new layer each year that can be seen as the familiar rings in a cross-section. The layers closer to the bark are called sapwood because they contain sap in the form of water and minerals. They lie directly below the much thinner cambium and phloem layers that, respectively, heal wounds and move sugars to the leaves from the roots.
This article originally appeared in the April 2012 issue.


