Like nothing ever happened
Once you’ve done the fill — whether it is an epoxy fill, burn in, polyester fill or cellulose fiber putty-type fill — the challenge is to produce an unnoticeable repair….
Once you’ve done the fill — whether it is an epoxy fill, burn in, polyester fill or cellulose fiber putty-type fill — the challenge is to produce an unnoticeable repair.
The visible characteristics of a finish include color, sheen, levelness (or profile, contour, shape), texture, grain (or pattern) and sometimes depth. If any of these are affected, we see it as damage or defect. For instance, a shiny spot on a dull tabletop or a dull abrasion on a glossy edge or an area that is significantly lighter or darker than the rest of the finish. Let’s define these.
Color is the first overall impression that the viewer has of the color of the piece. Secondly, it is all the detailed color you will see in the wood upon closer inspection. It will include the color of the wood and all the coating products that comprise the finish on the wood (or other substrate). Differentiation of color produces pattern.
Sheen is a function of the amount of the light impinging on the surface that is reflected to the eye (or to a measuring instrument). If a high percentage of the available light is reflected in one direction to the receiver (eye or instrument), we say this is a high or glossy sheen. If the light is absorbed, refracted or diffused so that a smaller percentage of the light is reflected to the receiver, we use terms like satin, dull rub, semi-gloss or flat to indicate that the sheen is somewhat lower.
Levelness refers to the shape of the surface (as opposed to the overall shape of the item). On a tabletop we can have a very flat and level surface in the middle, but on the edge a rounded (in one plane) shape, while a corner could be rounded in two planes. If the contour or profile of the piece is affected, we see this as a defect to be corrected.
Texture can be visible, tactile or both. A high-gloss cherry top can be mirror smooth, both to the eye and the touch. An unfilled oak piece might be very glossy, but with distinct open grain that is obvious to the eye and the finger. A plastic laminate (HDPL) can be “nubbly,” which describes a damaged or repaired area that has a detectably different texture.
Grain or pattern is a differentiation of color in a surface and could include the natural pore pattern in the wood, distressing (both color and physical) such as fly-specking, worm holes and cow-tailing. It might be congruent with the texture (in oak or ash, for example) or independent of the texture, such as a laminate with an oak color and pattern.
Depth is the most elusive of the visual characteristics of a finish. In some woods, and some finishes, it plays a small and perhaps insignificant part. Most cuts of oak, pine, and birch don’t show depth. With a crotch mahogany, colored with a dye and with a glossy coating, depth is almost a defining characteristic. We seem to be able to see into the wood and, when it is rotated relative to our point of view, the parts that are dark seem to become light and the parts that are light seem to darken.
The term chatoyance has become popular in recent years to refer to this “flip-flop” in the appearance of some woods and to the “flash, pearl or glimmer” of the wood.
Depth can also refer to the appearance of physical depth of the clear coat on some finishes. A good example would be the high-build polyester or catalyzed polyurethane coating on a Kawai, Young Chang or Yamaha piano, or a poured epoxy or polyester top on a restaurant table with seashells imbedded in the top.
Assessing the damage
In the simplest assessment of a damage or defect, we ask the question, “What’s missing?” The answers will be one or more of the following: levelness (contour), sheen, color, grain (or pattern), texture or depth.
We might define correction as restoration to the specifications and we could add to the satisfaction of the standards established by agreement between the customer and technician.
So we correct the defect or damage by restoring what is missing. By filling, we have restored the levelness or contour and, to the extent that we have filled with a colored product, we’ve begun the process of restoring the color. Just as there are many techniques for filling, there are many techniques for restoring the other characteristics. There are no wrong techniques if you achieve the desired results. But there are some that are safer and easier to learn.
Next, we have to continue to restore the color. The fill, if properly done, will have at least come close to a background color for the repair. We might bring it closer by inpainting that filler with a colorant and vehicle that will be compatible with the filler and any future coatings to be applied over this color.
The colorant can be a pigment or a dye. If a pigment is used, it will be in the form of a dry powder, to be mixed with the medium, or a liquid or paste, such as oil, universal or Japan colors. Dry powders are the most versatile and have been in use the longest.
Vehicles for these colorants can be water or solvent based. A solvent-based vehicle might have some solvent effect (that is, it could dissolve an existing coating) and will have a distinct odor. A water-based vehicle will not soften an existing finish and typically will have a less objectionable odor.
Solvent-based vehicles include shellac, lacquer and oil-based coatings. Water-based vehicles include water-soluble shellac, acrylic or a polyurethane coating.
I’ll use a touch up powder and water-based polyurethane for my example here. The specific products are Mohawk’s Blendal Powders and Finish-Up.
Put a few drops of the water-based poly on a mixing glass. Dip a small touchup brush into the liquid to wet it out. Tip the brush off on the side of the glass, so that it is not dripping wet. Dip the tip of the brush into the selected powder and carry it to the glass. Mix the liquid with the powder until the powder is thoroughly wetted out. Add other colors as necessary. When you’ve got the correct color, stroke the brush on the glass until satisfied with the color strength, the width of line and the “wetness” of the color. Then — and only then — apply the color to the repair area. With waterborne products, each coat will dry and will not rewet with subsequent applications, so the color can be built up in transparent layers without fear of wiping off previous applications.
Often you will find that stippling the color onto the area to be recolored is more effective than stroking on the color. Stippling is a technique of dabbing with the end of the brush. The brush hairs splay out and leave a soft, indistinct pattern that blends well with the existing color without showing brush strokes. The brush should be no wetter than necessary to easily transfer color. The color should not look wet and shiny on the surface.
In a production situation, doing more than what is necessary increases cost without increasing value and could endanger the whole enterprise. In the case of a finisher or independent technician, it similarly increases costs (time and material), making the enterprise less profitable and often less enjoyable. The best use of your time and talent will provide acceptable results for the customer and for you.
Restoring the topcoat
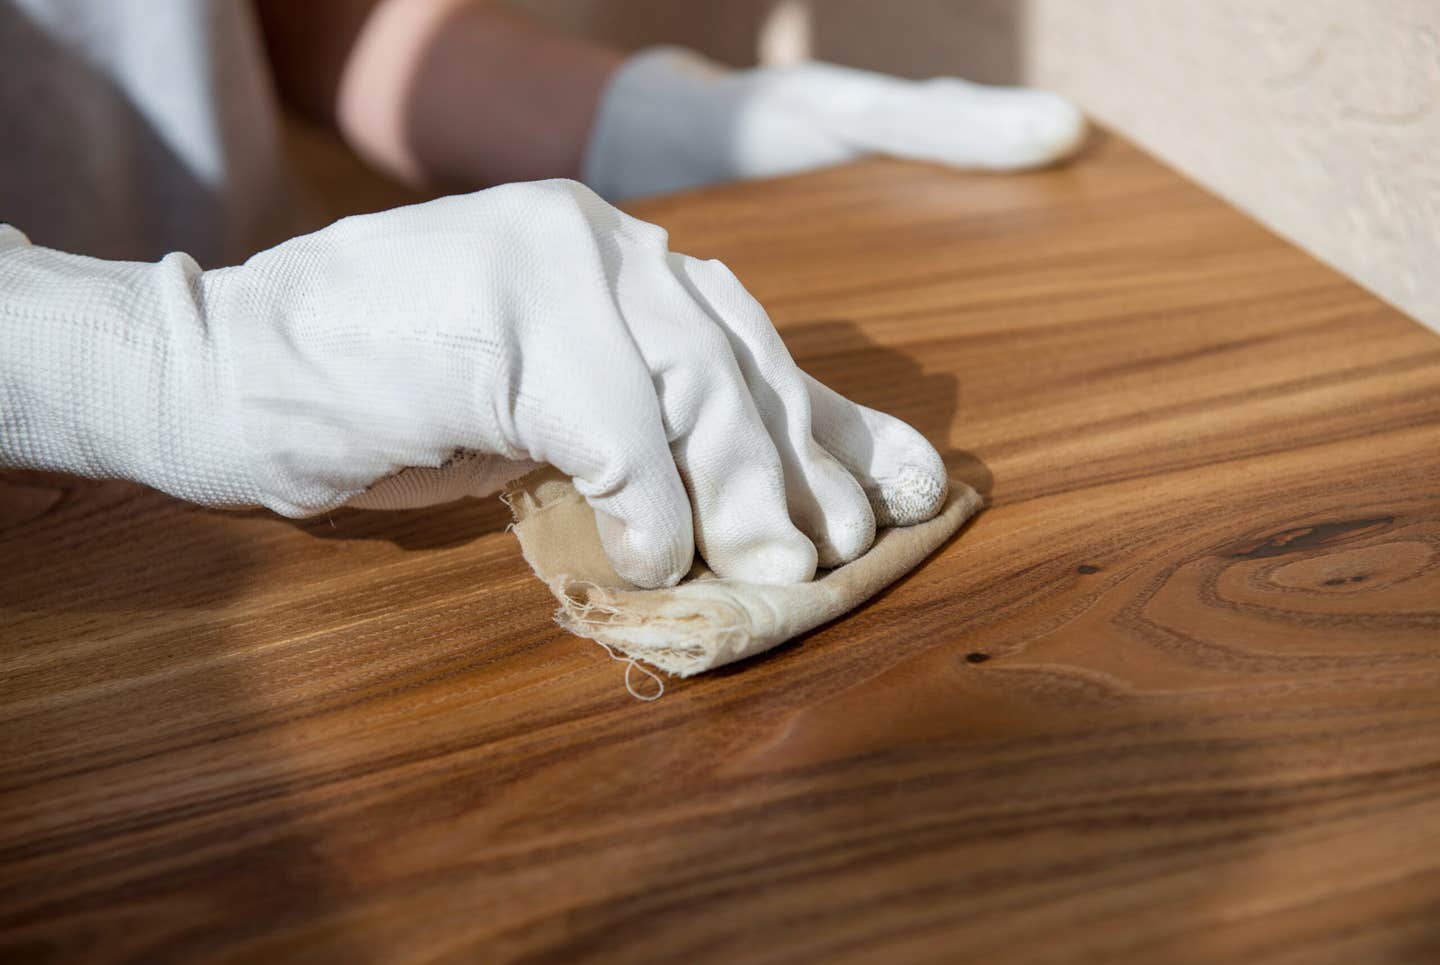
In this repair protocol, we’ll try to stay with the water-based, wipe-on coating unless there is compelling reason not to do so. Once the graining is complete, allow this to dry for several minutes or force dry with a hair dryer or heat gun for 10 to 20 seconds. Lightly dust over the grain with a piece of 4/0 steel wool to dull and level the graining.
A topcoat of the same material (in this case, Finish-Up) can be wiped on over the grain at this time. To match the sheen of the original finish, choose gloss, satin, or flat Finish-Up or mix two together to achieve an intermediate sheen. Wipe on the Finish-Up as you would a furniture polish in a very thin film. It will dry as it is wiped on. Several coats might be necessary to get the film thickness required.
Using a standard nitrocellulose aerosol lacquer can cause Finish-Up (or other water-based coatings) to lift or wrinkle in response to the solvents. A precatalyzed lacquer will not cause this lifting or crazing. Do not use No-Blush or any other retarder or flow enhancer over Finish-Up.
Greg Williams, formerly senior touchup and finishing instructor for Mohawk Finishing Products, is now a freelance instructor and consultant.
This article originally appeared in the August 2015 issue.


