Pouring my heart into it
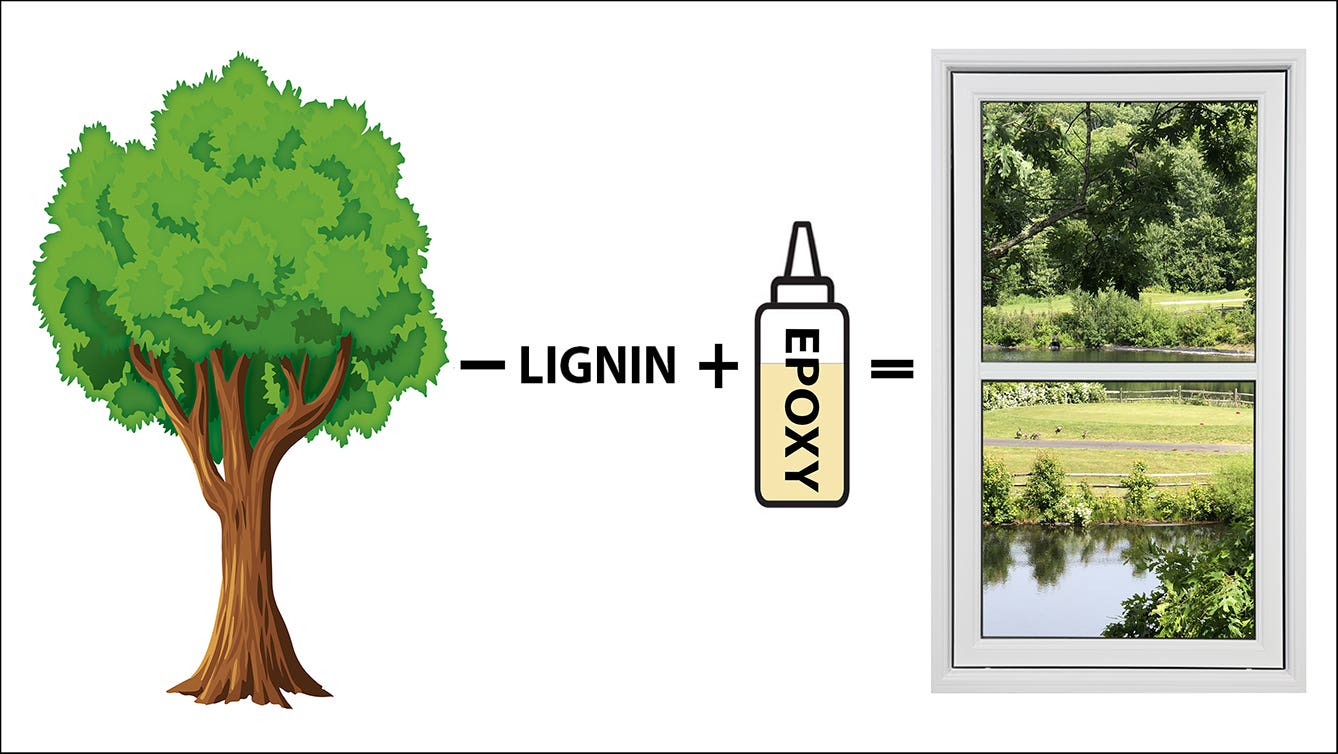
This is another first for me: Using epoxy to fill some large-scale cracks.
This is another first for me: Using epoxy to fill some large-scale cracks.
Oh, sure, I’ve filled minor blemishes, dings and thin cracks with a dab or two of epoxy over the years, but my latest project calls for mixing up a large batch of the stuff, tinting it, and pouring it in.
Yeah, that’s that sofa table I’ve talked about three or four times before. I almost started it a year ago, but something else cropped up. Now, I’m finally getting to it. And it needs to have cracks on both natural edges filled, plus some end checks.
It seems straightforward – and it is – but there was a definite learning curve. To begin with, the cracks go diagonally through the slab edges, so I needed to orient the cracks vertically, or the epoxy would just run out. You can see in the inset of the above photo how I accomplished that.
But the way the crack undulates down that edge (and on the other side, too) meant that some parts of the cracks were lower than others. So, I still had issues with the epoxy succumbing to gravity, meaning I have to do the fill-in stages or it would just pool in the lowest spots… and run out.
On top of that, I’m doing this in my basement woodshop. In the winter. At around 64 degrees F or so, the shop is plenty comfortable, but epoxy really prefers something in the 70s, so it’s taking forever for each stage of what I’m doing to cure. And, no, carting this all to the warmer upstairs has been decreed forbidden.
But, like all the other recent firsts over the last few months this is turning out to be fun, and the issues I’m having – all minor – are making for a good learning experience.
A.J. Hamler is the former editor of Woodshop News and Woodcraft Magazine. He's currently a freelance woodworking writer/editor, which is another way of stating self-employed. When he's not writing or in the shop, he enjoys science fiction, gourmet cooking and Civil War reenacting, but not at the same time.